Dragon Thursday

My friend has shared some of her Zentangle drawings on Facebook.  I did not have a clue what it was. Then I came across a  Zentangle Dragon on The Dragon Obsessed Facebook page that linked back to Pinterest and It started my search for what this is all about.

Here is what I found on my Pinterest search Zentangle Dragons

There are so many lovely drawings!

I found a website for the Zentangle Method.  It seems to be a meditative drawing method.  Here is the link if you would like to explore this more  Zentangle Logo

Zentanle Dragon 1


Zentangle Dragon 2

I am not sure I will ever have time to try this but it looks interesting.  Please let me know if you use this method and what you enjoy drawing.

Melyna

Spring? Already?

I suppose that I should be used to having spring like weather in February.  It is central Texas.  We have had very little cold weather this fall and winter.  I always worry that the trees will start budding out and the daylilies will emerge, then a freeze will swoop in for the kill.  I’m a worrier. Until then, I will enjoy the spring like weather and the spots of color against the mostly gray and brown that make up most of the landscape.

coreopsis lanceolata This little flower has been blooming in the center of our backyard for over a month.  It is like having a little spot of sunshine and happy.

coreopsislanceolata

This little flower has been blooming in the center of our backyard for over a month.It is like having a little spot of sunshine.

We have dill plants everywhere.  I had one in a pot last summer and when it went to seed, I scattered them around for the butterflies to enjoy the plants next spring.  The weather has been so mild they came up about a month ago.  Below, one of my kitties is helping protect the dill against a butterfly attack. 😉

Preparing to fend off a butterfly.

Preparing to fend off a butterfly.

Emerging daylilies.  These are approximately 1/2 to one inch tall plants.

Emerging daylilies. These are approximately 1/2 to one inch tall plants.


The same daylilies three days later.  now 2-4 inches tall.

The same daylilies three days later. now 2-4 inches tall.


The redbuds are starting to bloom too.

Redbuds blooming.

Redbuds blooming.

OLYMPUS DIGITAL CAMERA

Albert Phineas Drache


Melyna

Living low carb – Guilt free low carb chips.

Since adopting a low carb lifestyle, I have missed having chips and salsa and chips and guacamole. I made some from baking low carb tortillas but they were not really satisfying and I got very few chips for the carbs.    Pork rinds do not fill this gap, so I went looking for an alternative.

I found a recipe for Paleo Dipping Chips on Pinterest from a site called beautyandthefoodie.com

The article states that the chips are more like crackers.  These are not the thin, light restaurant tortilla chips I used to eat but they are very tasty.   I have made them twice.  The first time I rolled them out to the thickness of a thin cracker.  The second time I rolled them out even thinner and they baked fine and were not overly delicate.  To achieve a hardy chip for dipping, I would leave them a little bit thicker.  That said, they  satisfied my craving for chips, salsa and guacamole.  The nutrition information states that the recipe makes four serving with a net 2.5 carbs per serving.  I split the entire batch with my husband and felt pretty good at having only 5.0 net carbs for the chips.  It makes a lot of chips.

I gathered my ingredients and got busy! (forgot the olive oil in the pic)

Chip ingredients

Everything is mixed in one bowl (which is nice)  It doesn’t look like it makes much, but remember it is rolled out pretty thin.

IMG_7573

Place the dough on a sheet of parchment the size you will be baking it on.  Place another sheet on top and roll out to desired thickness.

IMG_7574

Carefully remove top sheet of parchment from the dough.  Mine stuck in some places.  I found that if I lightly wet my fingers with water, I could ease the dough off the parchment and put it back in place.

IMG_7577

Next, score the dough into the shapes your want with a pizza cutter or knife.

IMG_7579

Place on baking sheet and either spritz with an olive oil mister or use a pastry brush and lightly oil the top of the dough (this is what I used).  The recipe states to make a mix of the spices and salt again then sprinkle on top before baking.  Bake in a preheated oven (350 F) for 10 minutes.  Check to see if it is browning.  If not continue to bake and check frequently until it is a golden brown.  (Some of the thinner edges were a little crispier but tasted fine)

IMG_7582

Let them cool for a few minutes and break apart.  Eat with your favorite dip. Yummm!

First batch of chips that I left a little thicker than the second batch.

First batch of chips that I left a little thicker.

Close up of first batch of chips

Close up of first batch of chips


Second batch of chips with Guacamole.

Second batch with guacamole

closeup of chips.

IMG_7589

Please let me know if you try this recipe and your thoughts on it. 🙂

Melyna

Albert Phineas Drache


Dragon Thursday

Good morning!

Dragons & Beasties

I found this cute dragon on Pinterest and followed the link in a round about fashion to end up at this Etsy shop.    Dragons & Beasties banner

Unfortunately , the artist is busy with her own baby and does not have items available at this time.

She is active on her Deviantart site here:dragonsandbeasties icon

Check out her beautiful creations.  She does have a few items for sale but she is not taking commissions at this time.

Living Low Carb – Coffee and cheese danish for breakfast? You bet!

On my quest for low carb recipes, I am always drawn to the sweets.  I admit that I have a sweet tooth.  I have found that if I can satisfy it with something low carb it helps me from cheating.  I found a recipe for Low Carb  Cheese Danish on Pinterest.  It is on a website called Up Late Anyway (love the name!) This recipe is similar to the Fathead Pizza dough that I blogged about on Friday.  It uses mozzarella cheese in the dough but this one is definitely sweet.  I had the ingredients on hand although not exactly like the author of the recipe suggests. (I soon found out that this is very important)

You can find the recipe and instructions here:  Cheese Danish

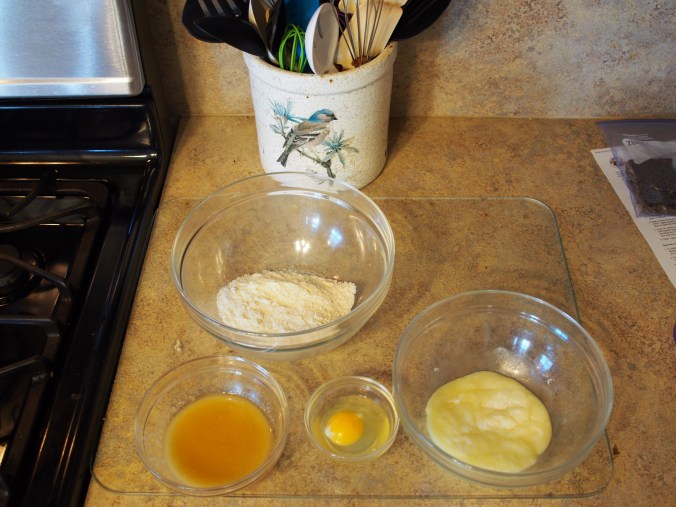
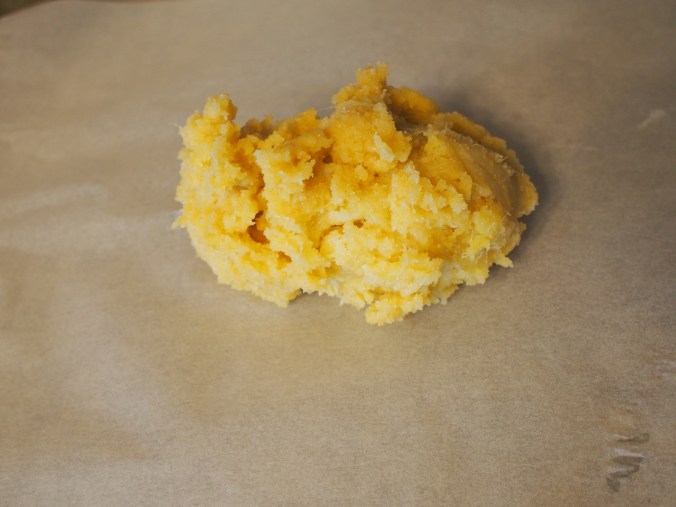
So, I gathered my ingredients:

OLYMPUS DIGITAL CAMERA

Ingredients for low carb danish


Next is measuring and mixing the dough.  I whisked together the almond flour, coconut flour and baking powder in a bowl until well mixed.  Then in a separate bowl, I melted the butter then added the vanilla and sweetener to it and mixed well. (I used  4 tablespoons Monk fruit blend by Health Garden) I placed the shredded mozzarella in another bowl and melted it in the microwave per instruction.

low carb danish


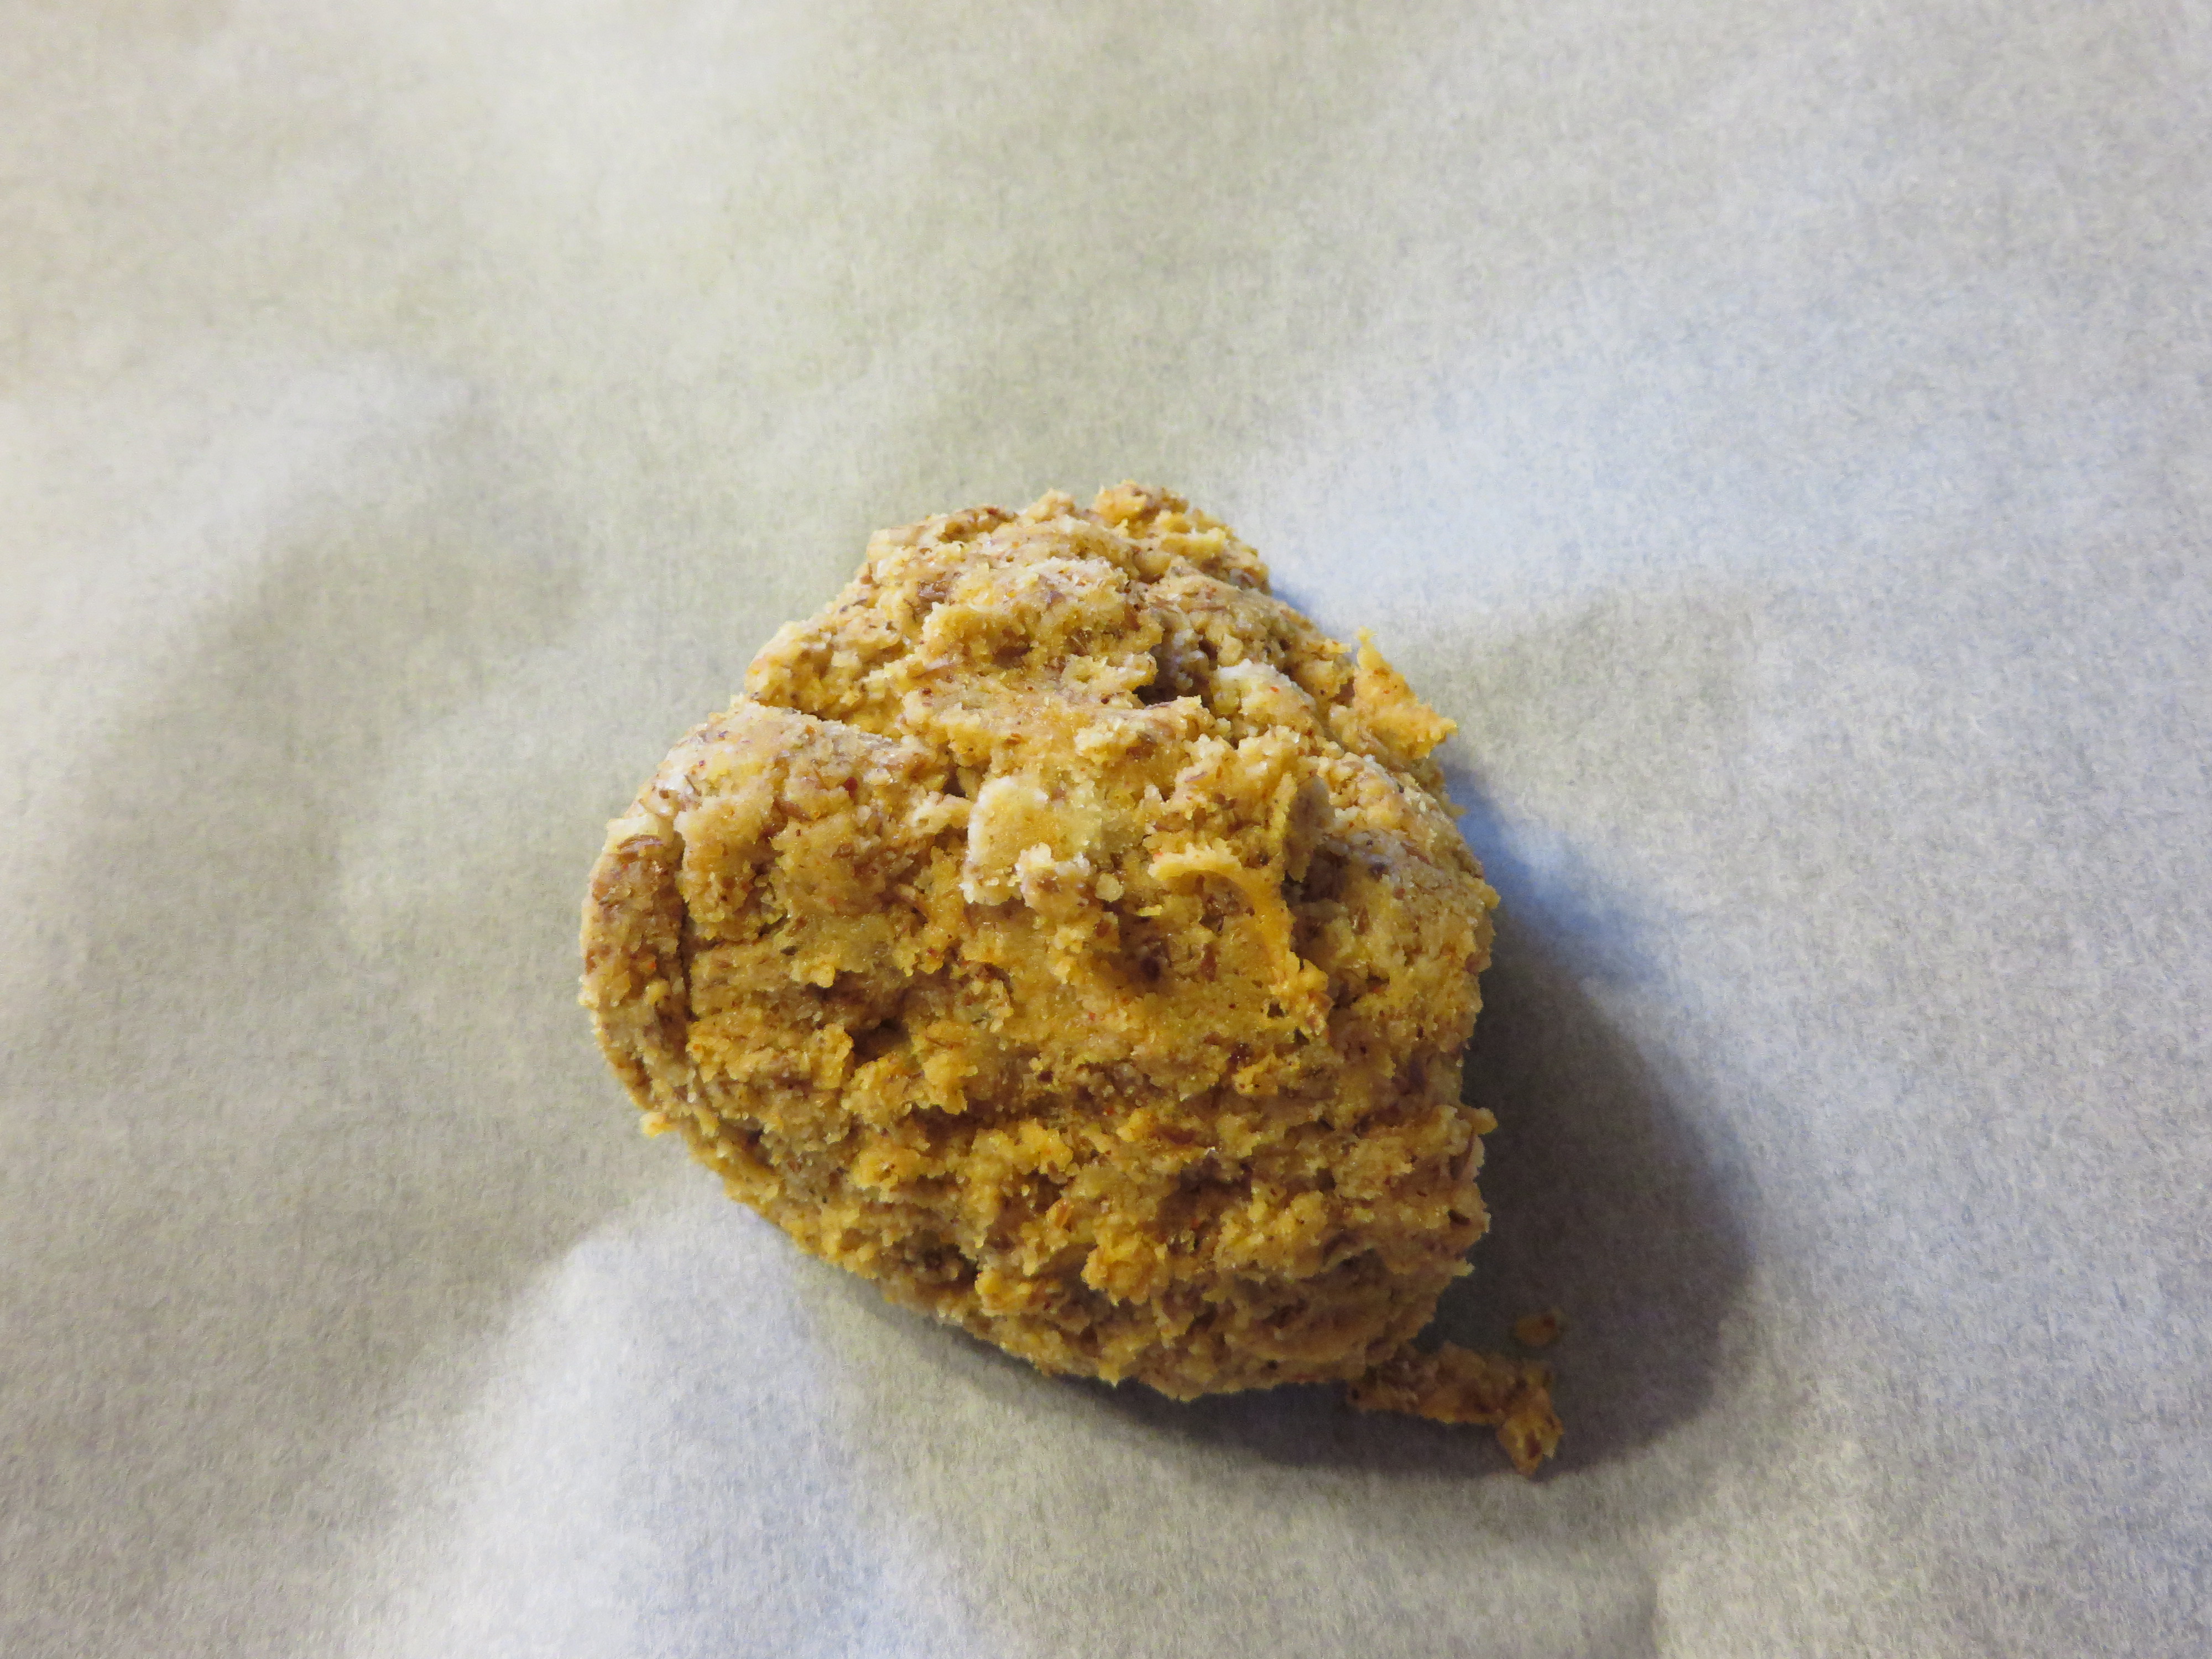
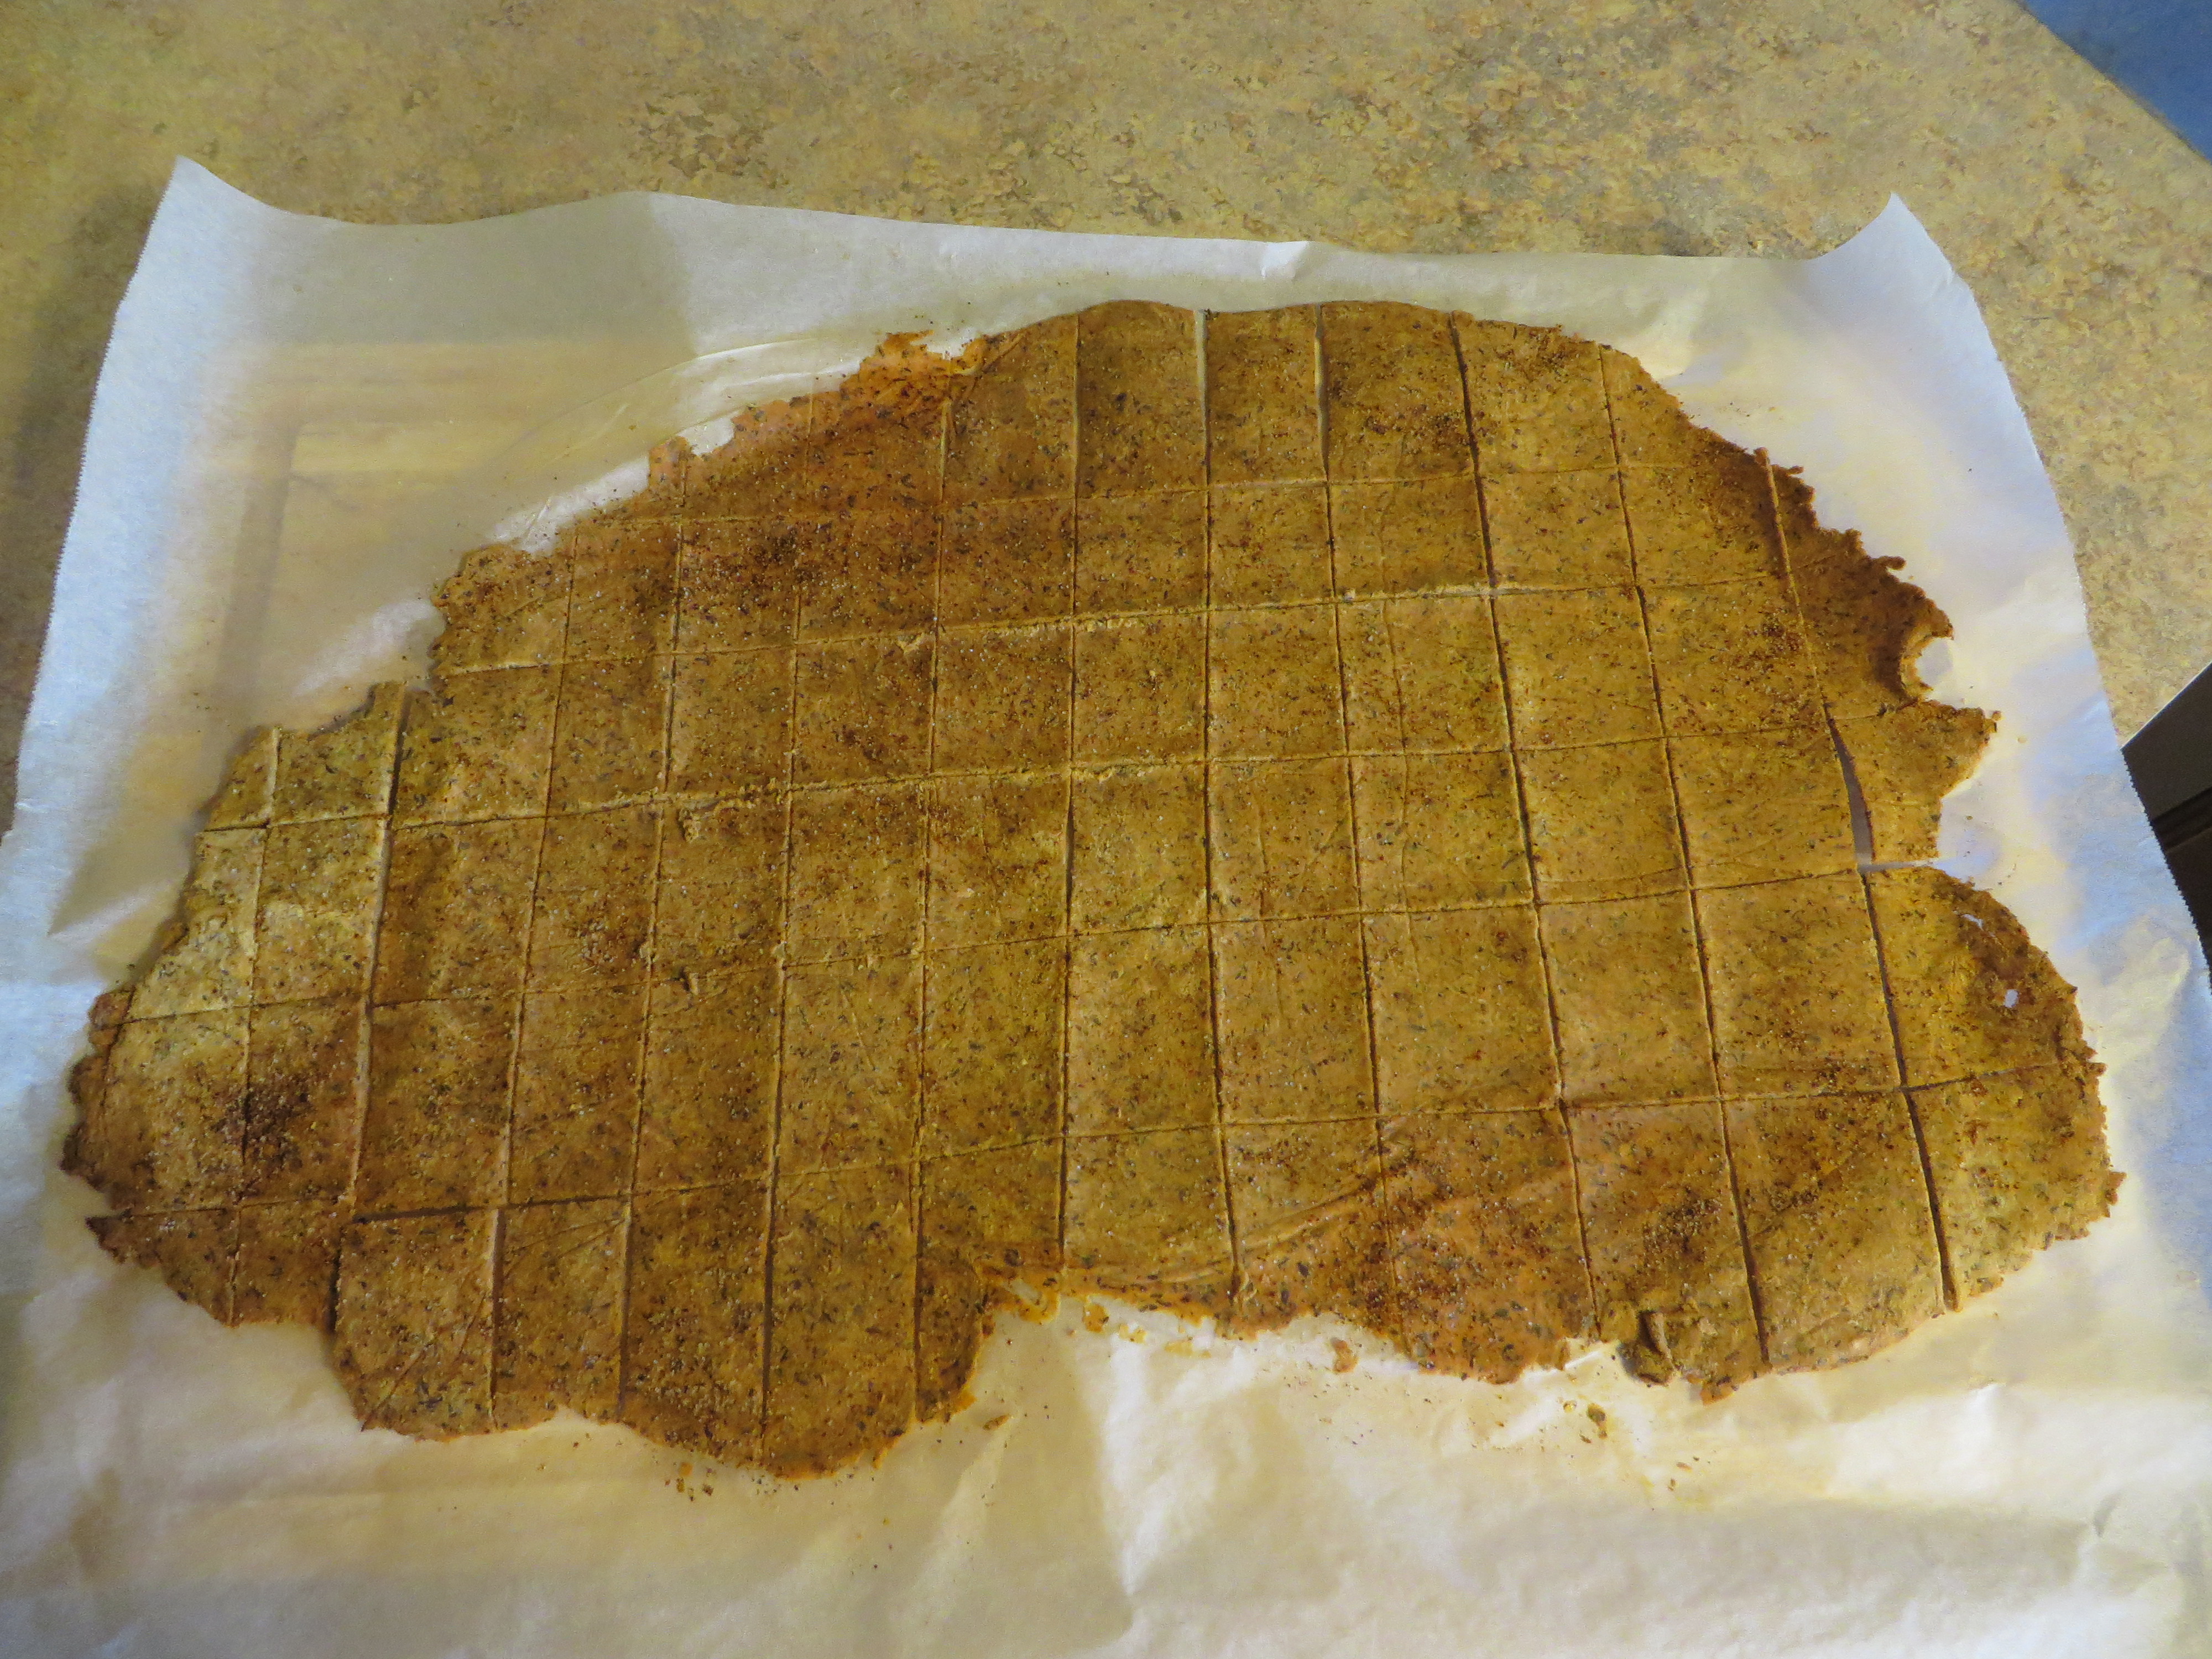
I then beat the egg and mixed all of the ingredients together and mixed with a spatula.  My dough was too wet and a bit stringy, so I added about one half tablespoon almond flour to the parchment I was rolling it on and on top of dough.  I placed another sheet of parchment on top of the dough and rolled it out.

low carb danish dough before rolling

OLYMPUS DIGITAL CAMERA

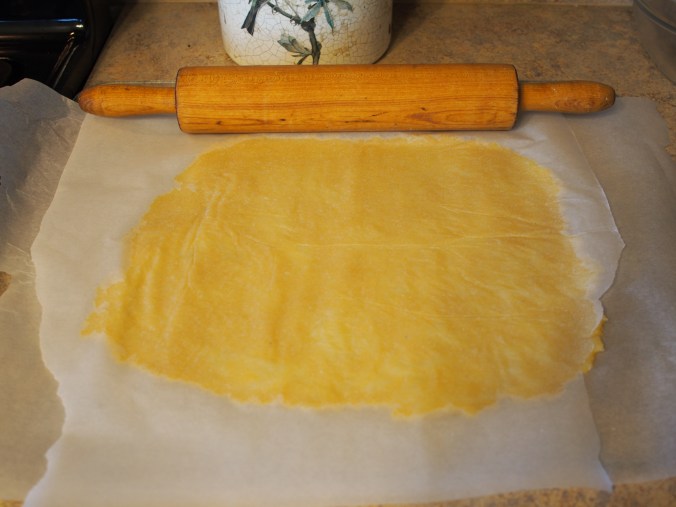
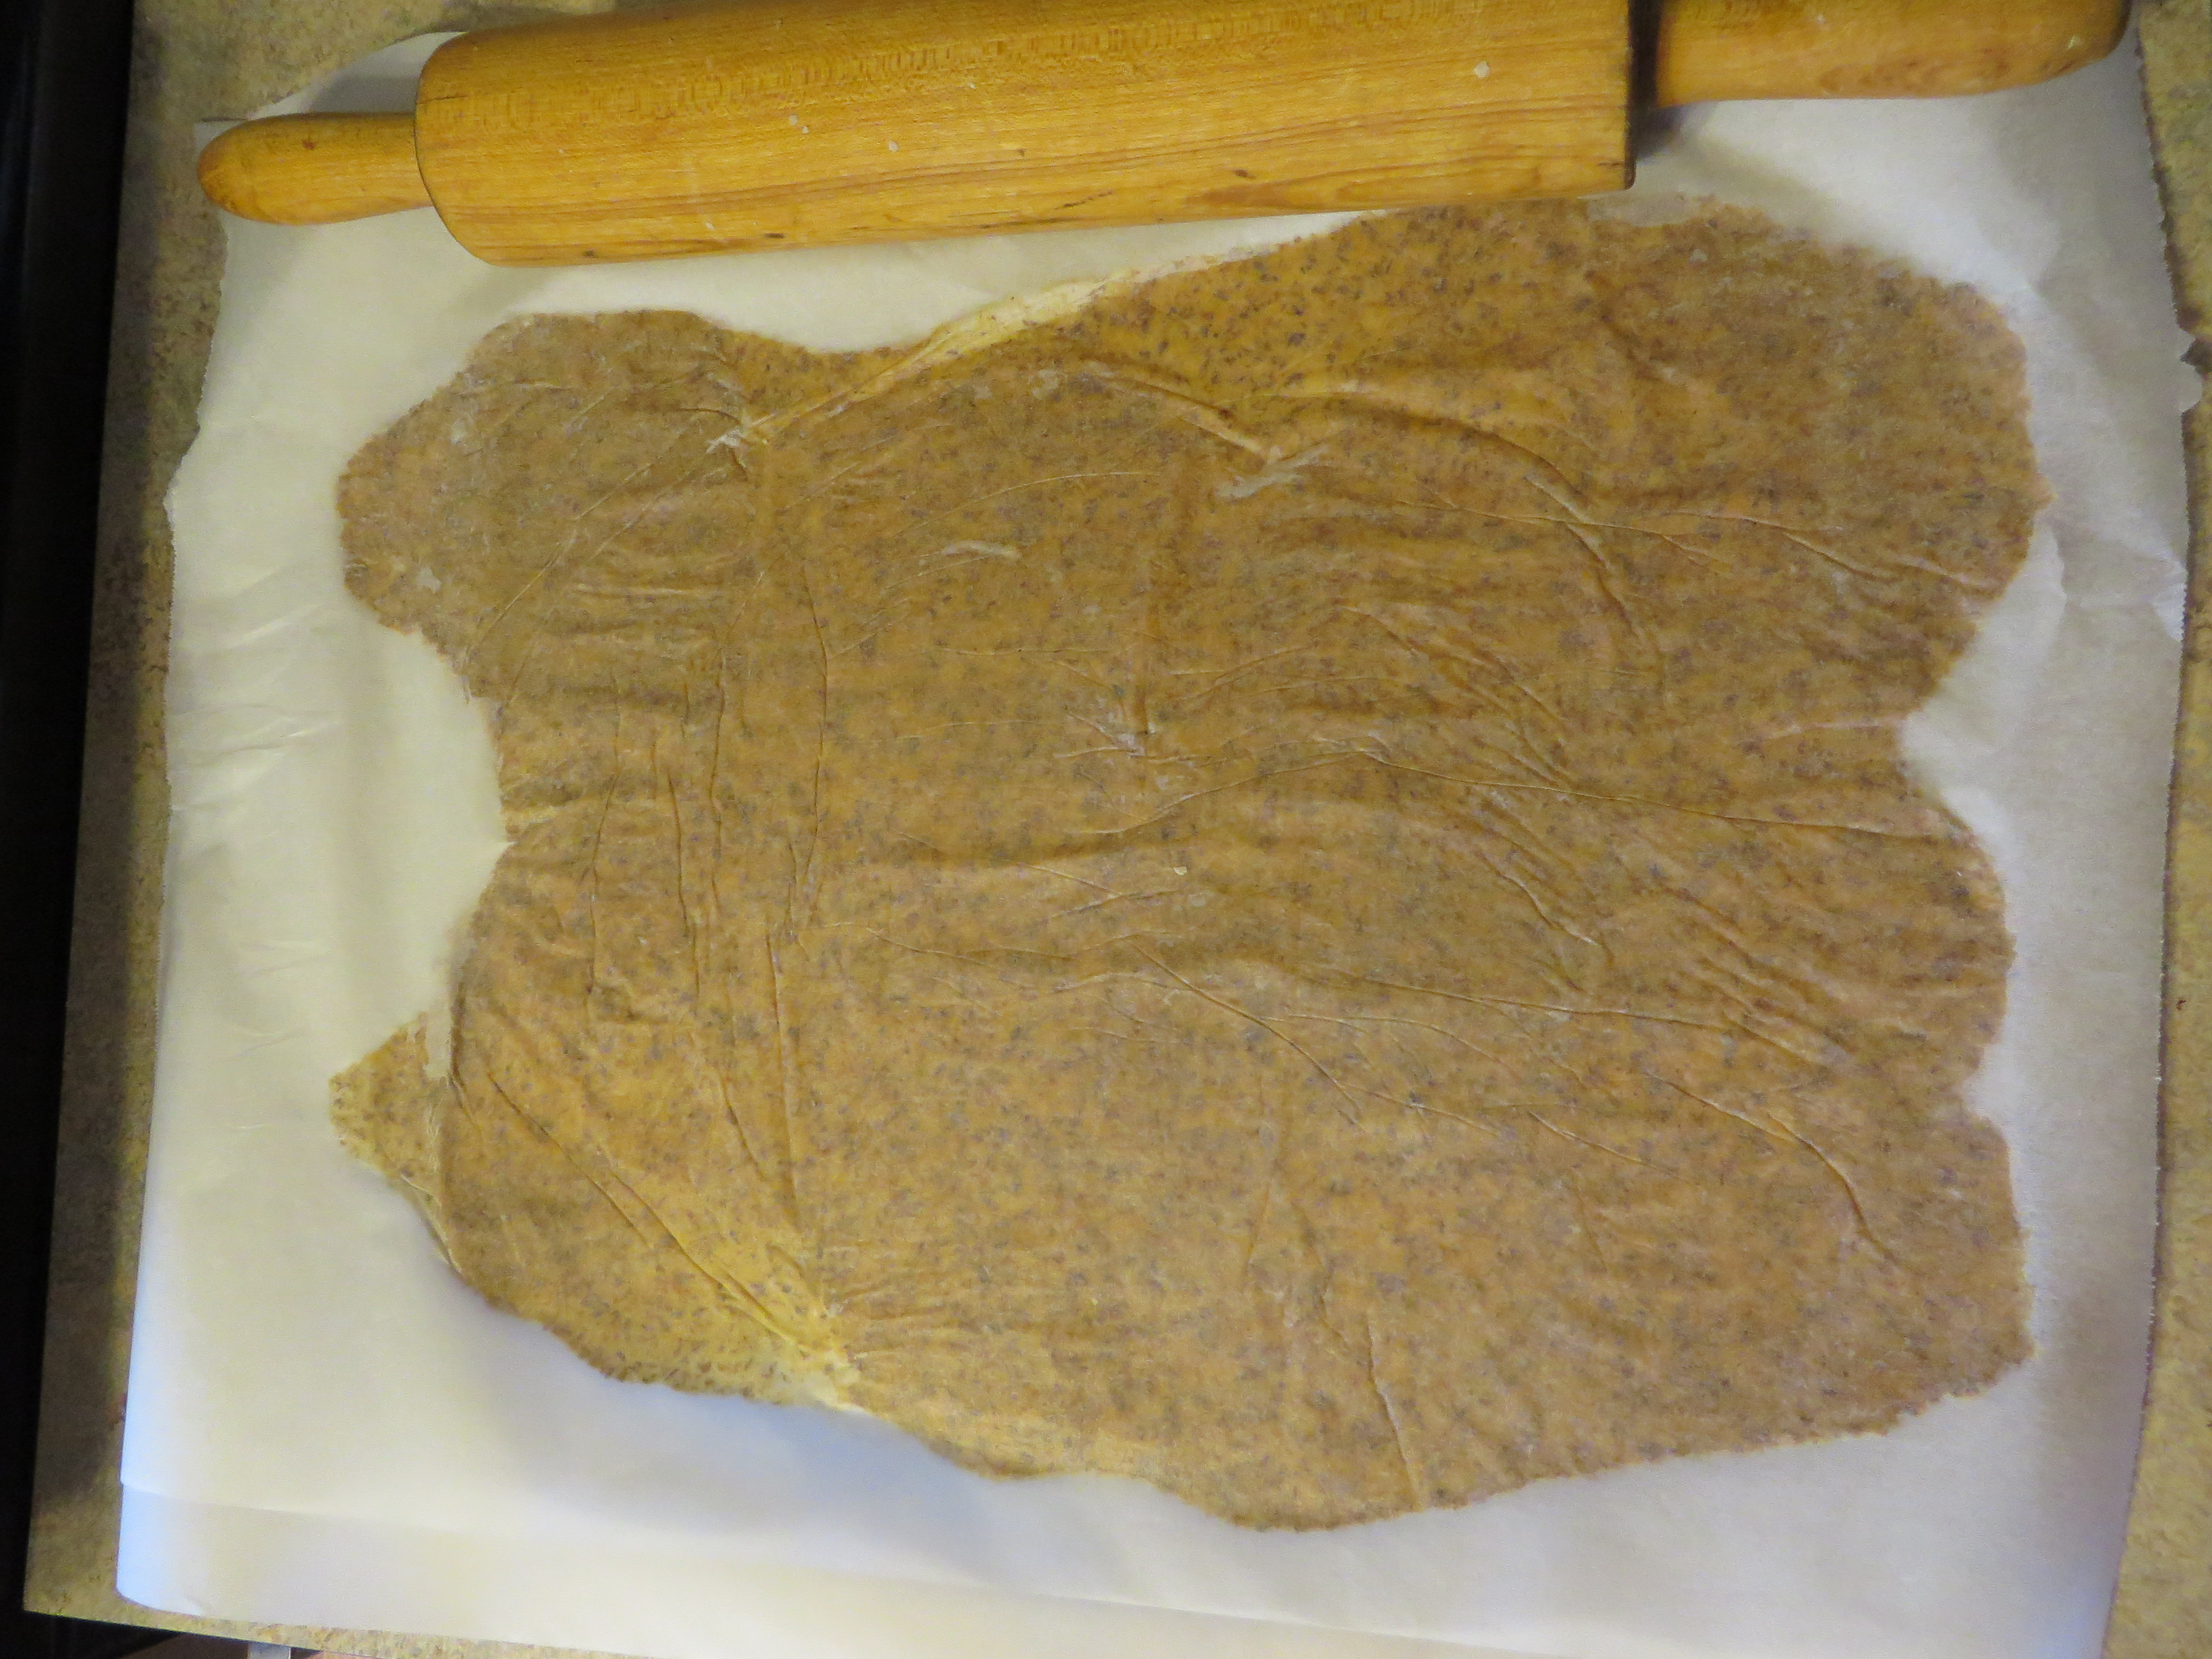
low carb danish rolled out

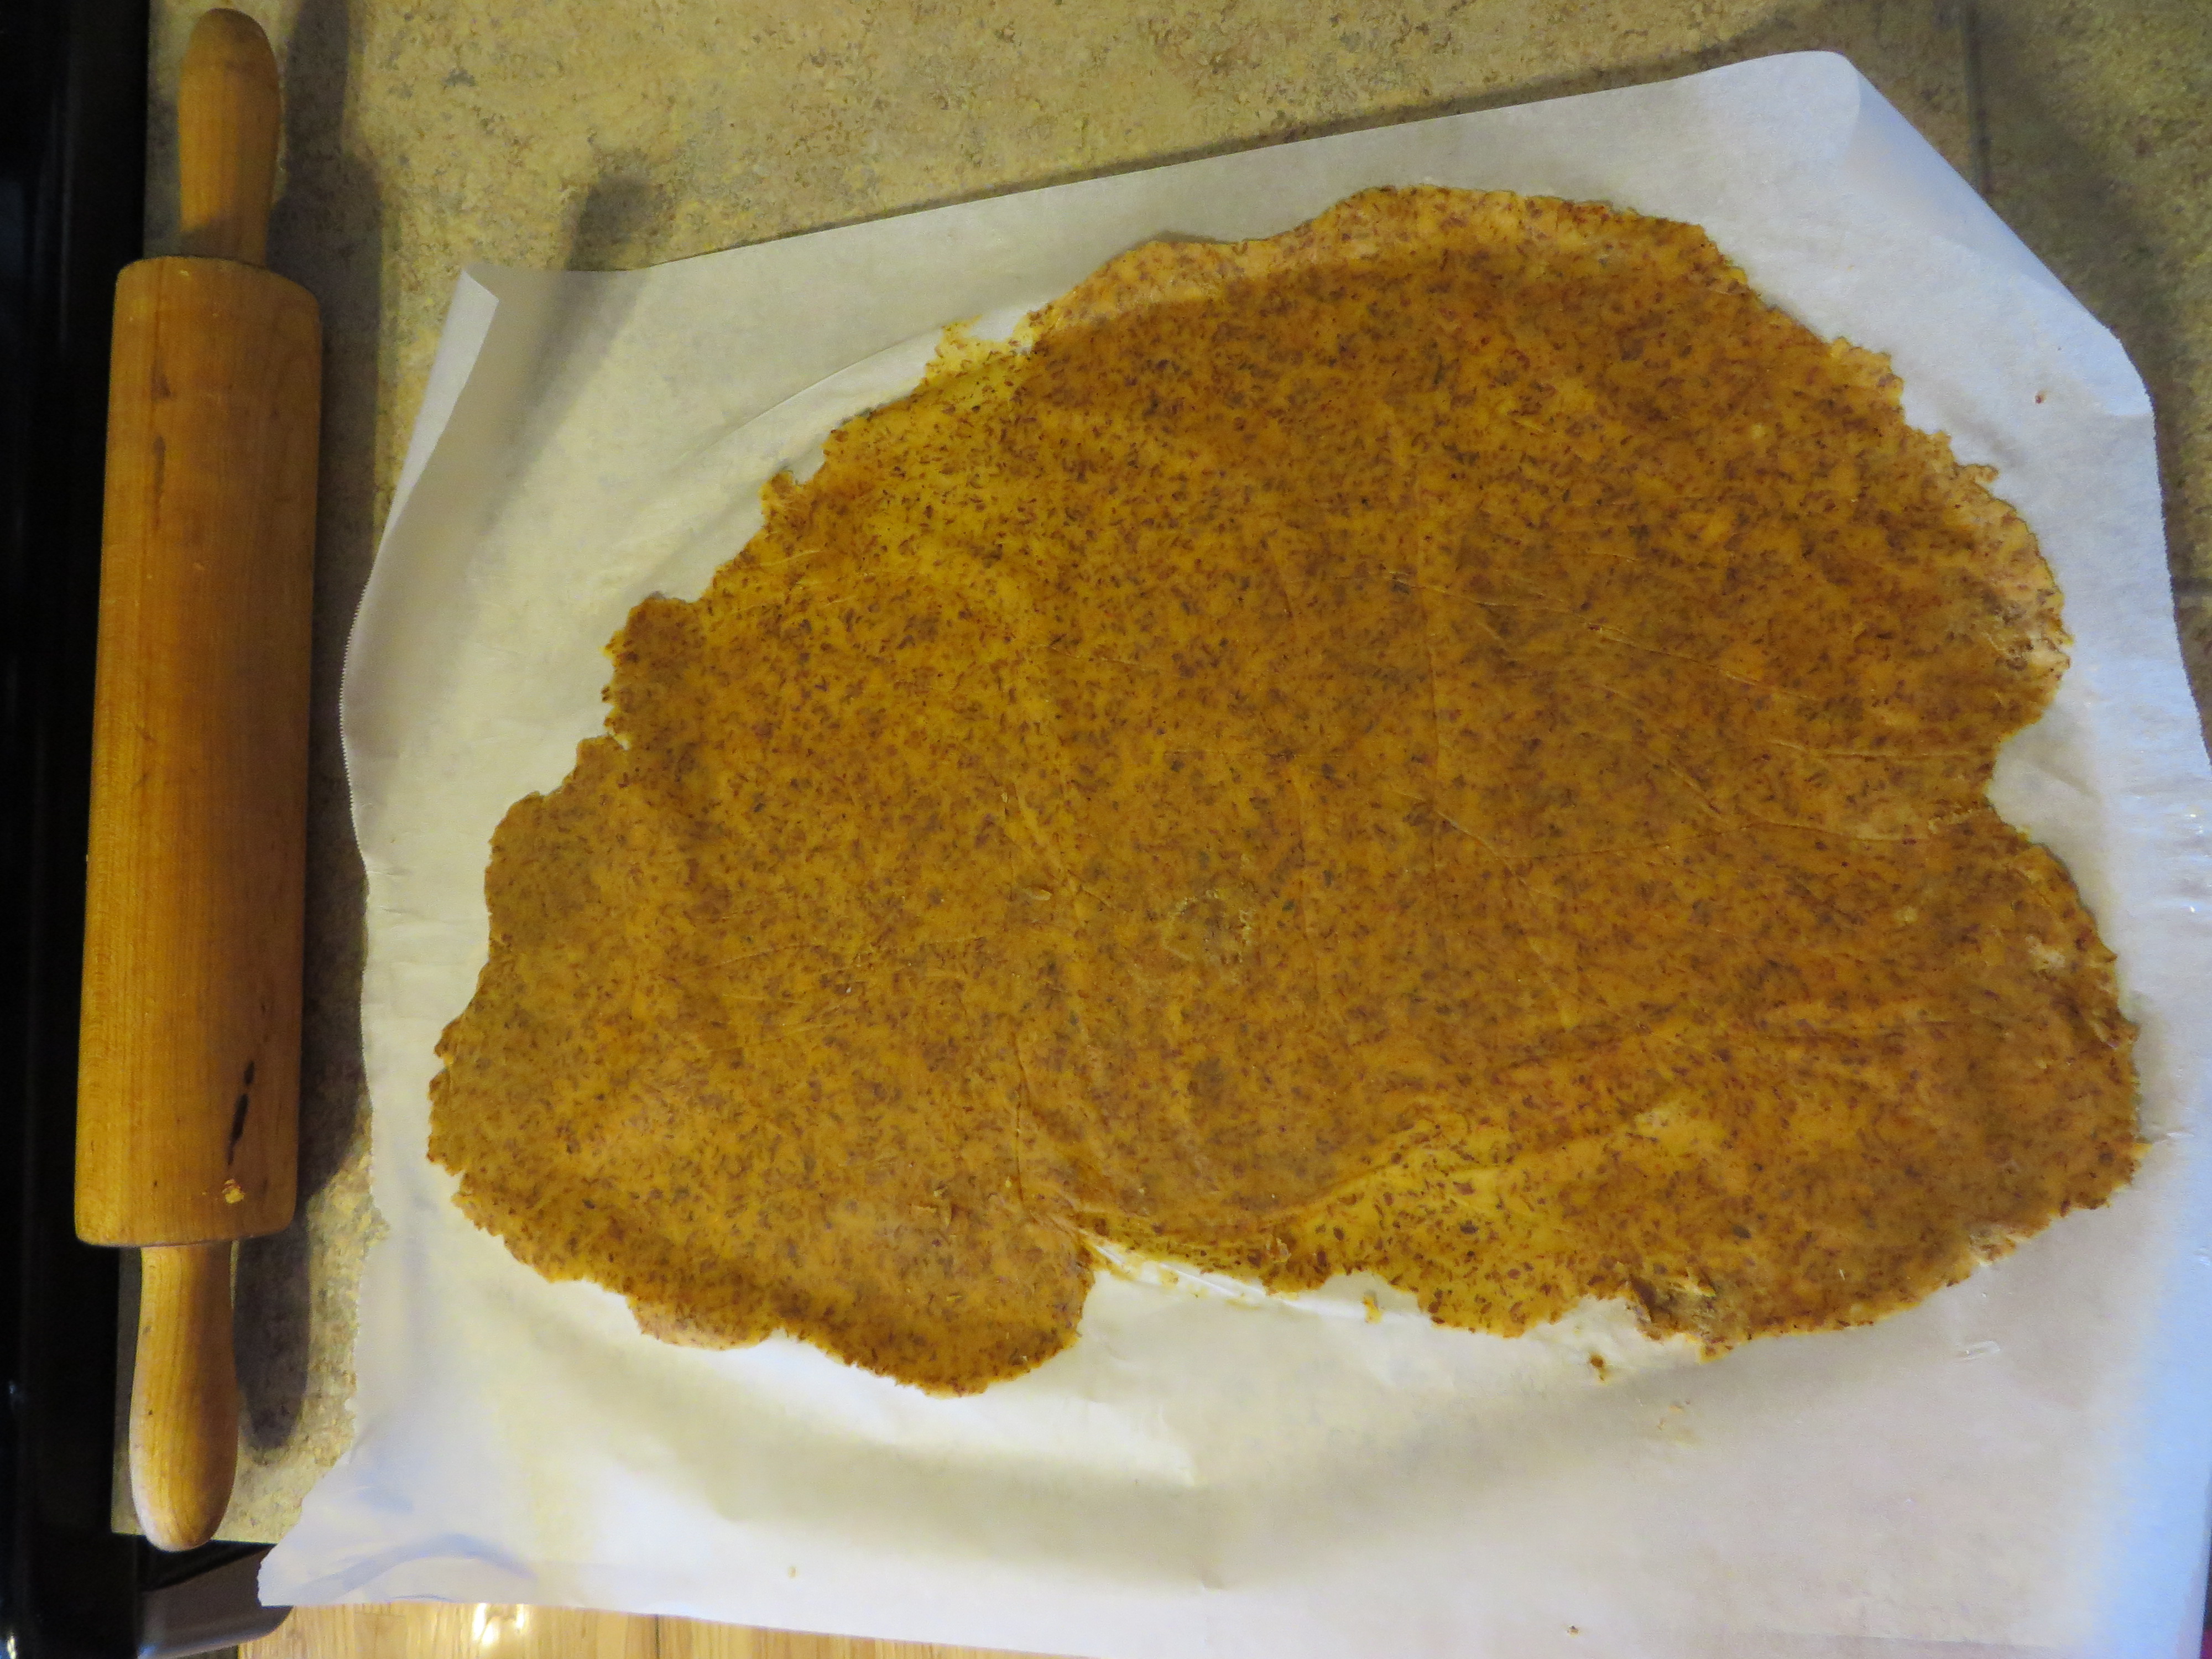
It was a bit thin and not very pliable.  It wanted to stick to the parchment.  I used a very thin spatula to lift the edges to fold into the center per instruction.  As you can see, it does not look like soft pliable dough.

OLYMPUS DIGITAL CAMERA

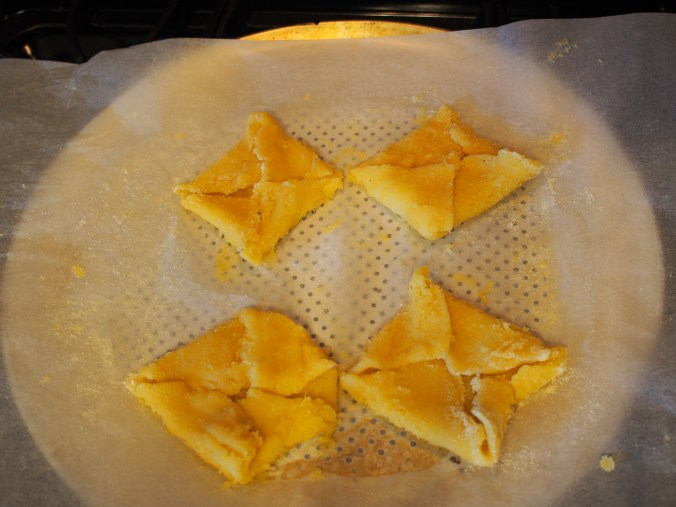
Folded corners – kind of.

The author states this in the comments section in response to the stringy, sticky texture:

This has happened to me before a couple of times the first of which is when using pre shredded cheese that is 1 carb per 28 gram (1/4 cup) serving. It should be <1 g carb per serving on the label. What happens I think is there are extra starches added to the cheese to keep it from clumping which accounts for the extra carbs there and it messes with the recipe. The other possibility is that it just wasn’t hot enough and needed to be reheated. If it was sticky and straggly though I’m guessing it was the cheese. The other thing I find that makes it much easier to melt is using a shredded cheese that is a regular shred. Finely shredded cheese doesn’t work out well. The only other thing I can think if is measurements and so I’ll add that I use a regular tablespoon measuring spoon to measure out the flours and always a level scoop. 

I should have read those comments first. 😉

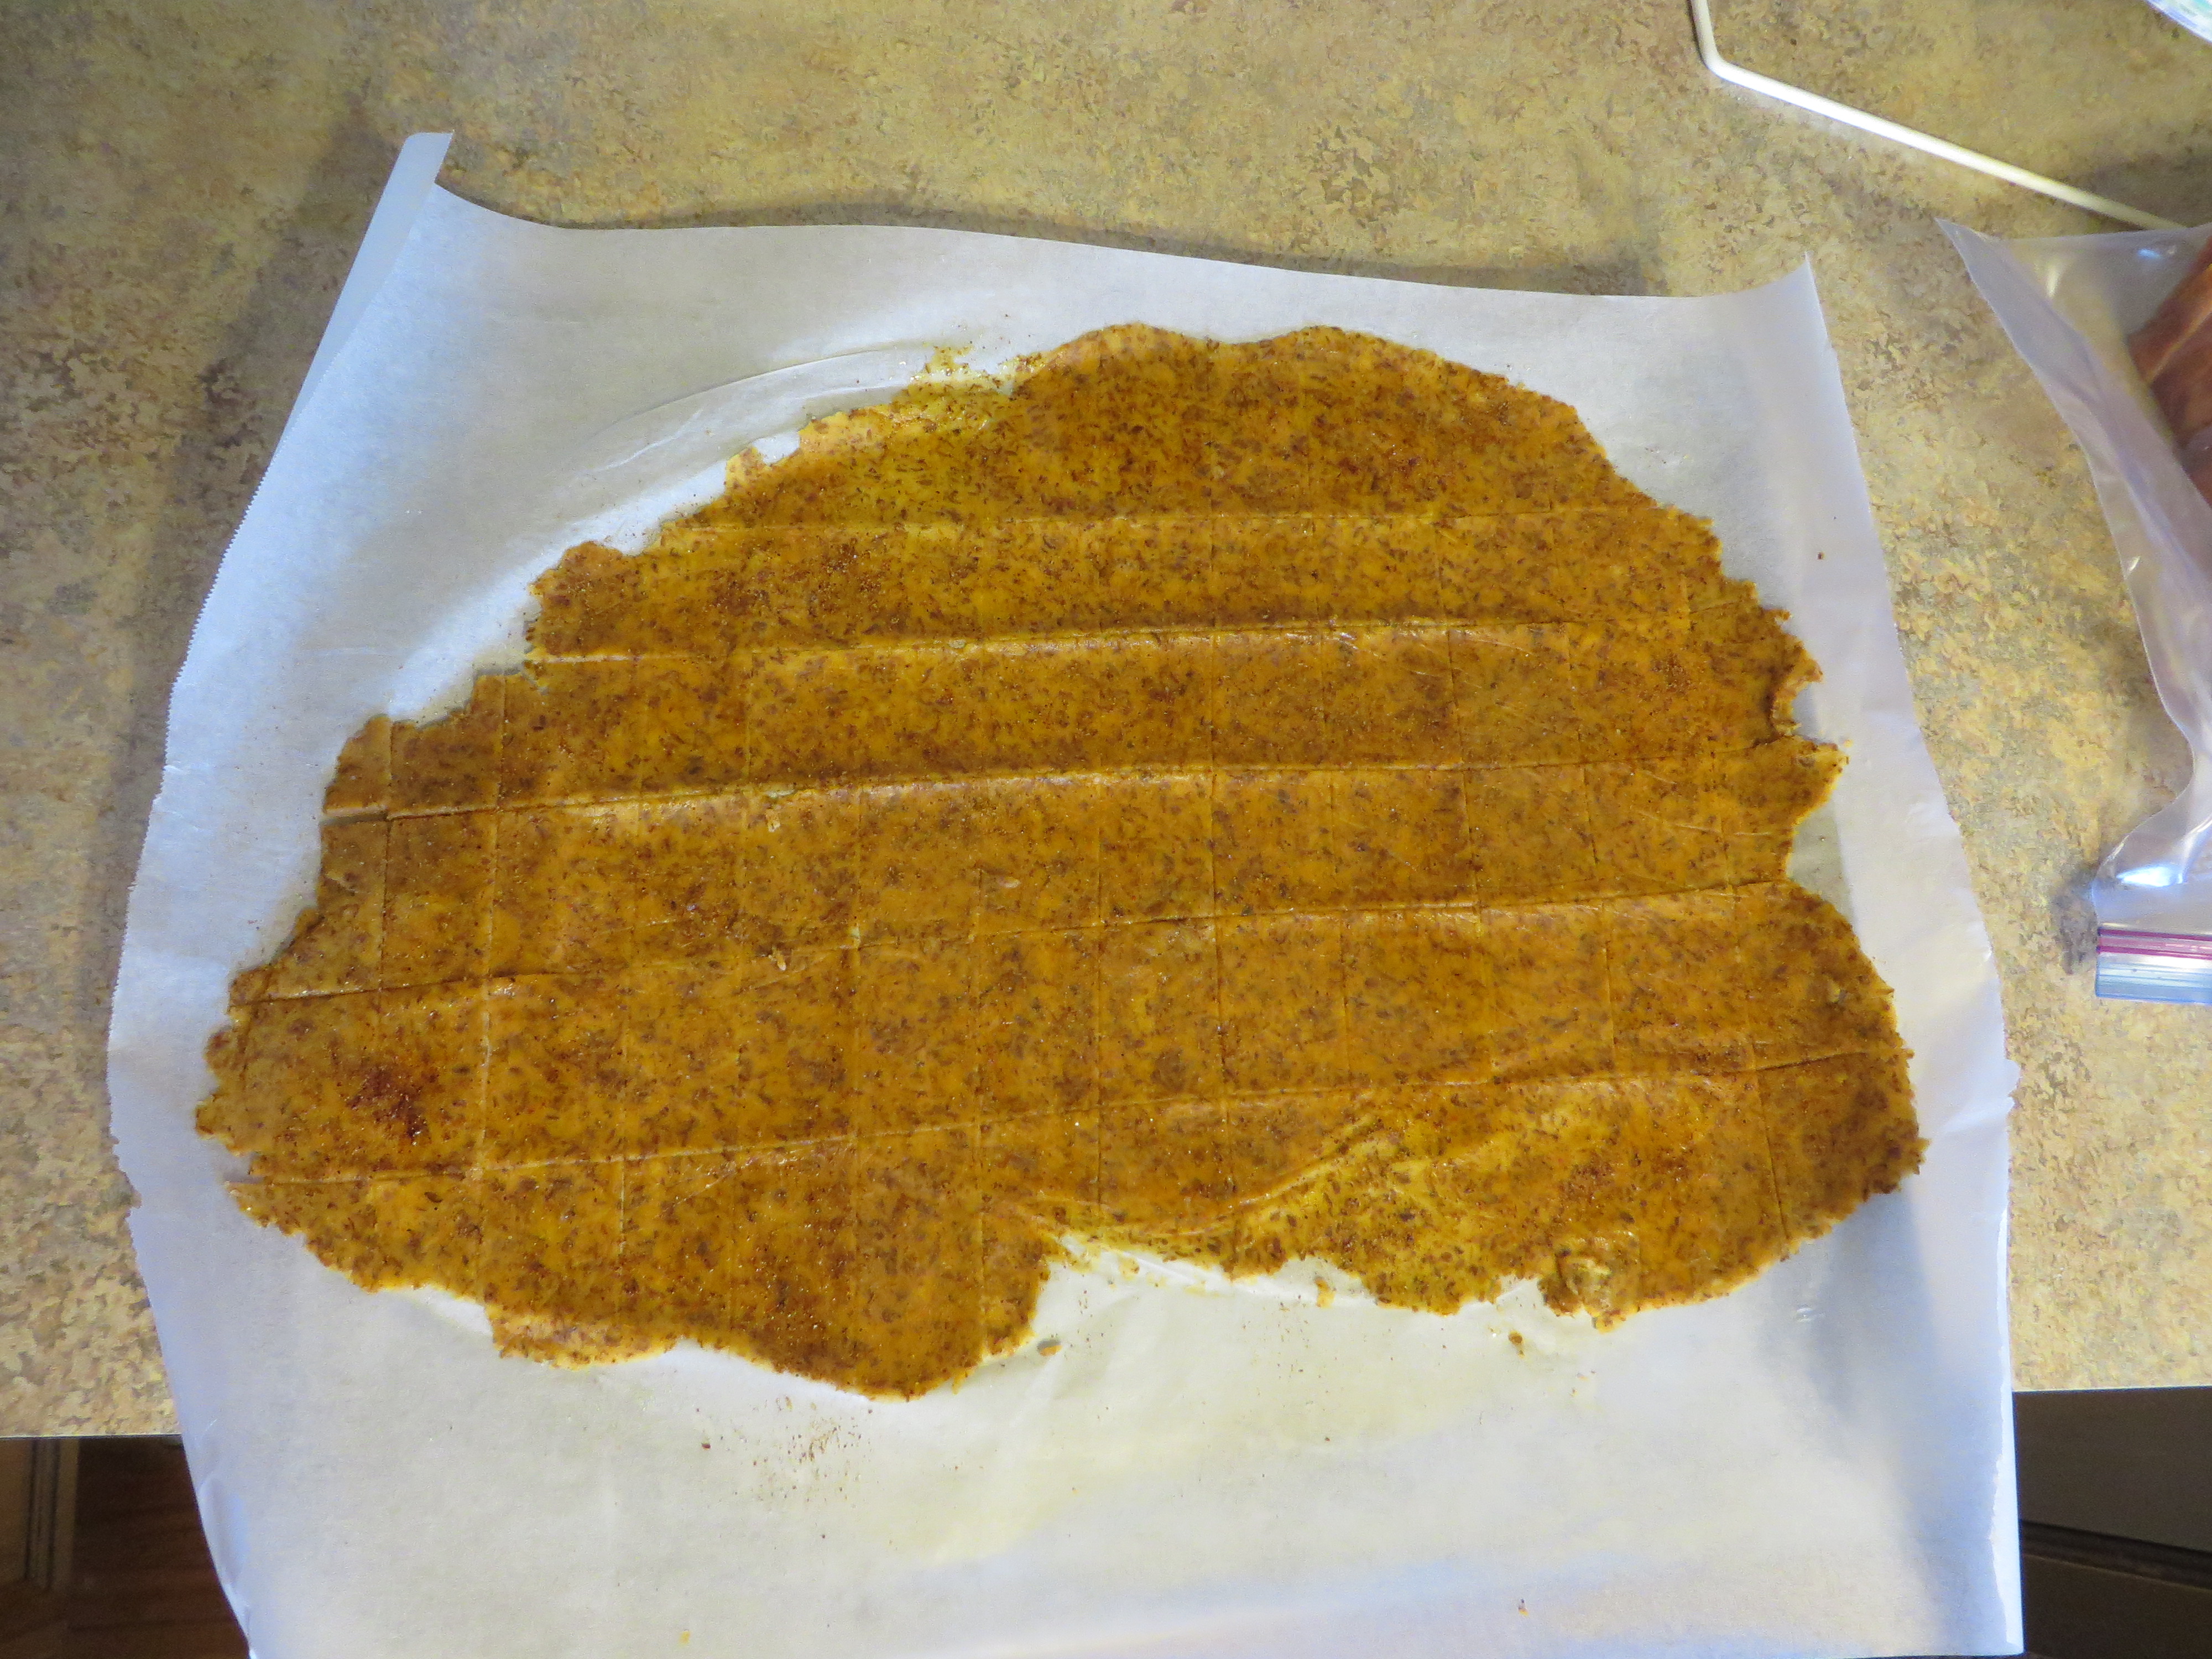
I prepared the cream cheese filling and placed a small cookie scoop amount of filling in the center of each square.  (I had some filling left over).  I flattened it slightly and baked it for about 13 minutes. For the filling I used a Stevia/Maltodextrin blend from Central Market (Local grocery) Here is a similar one on Amazon

Low carb danish with filling

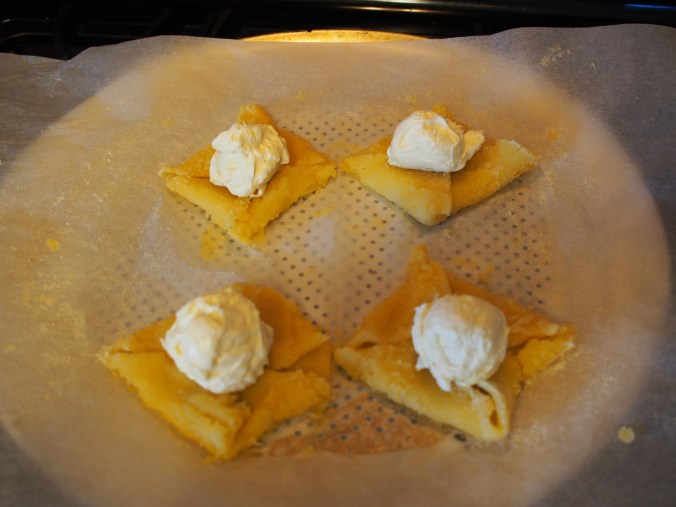
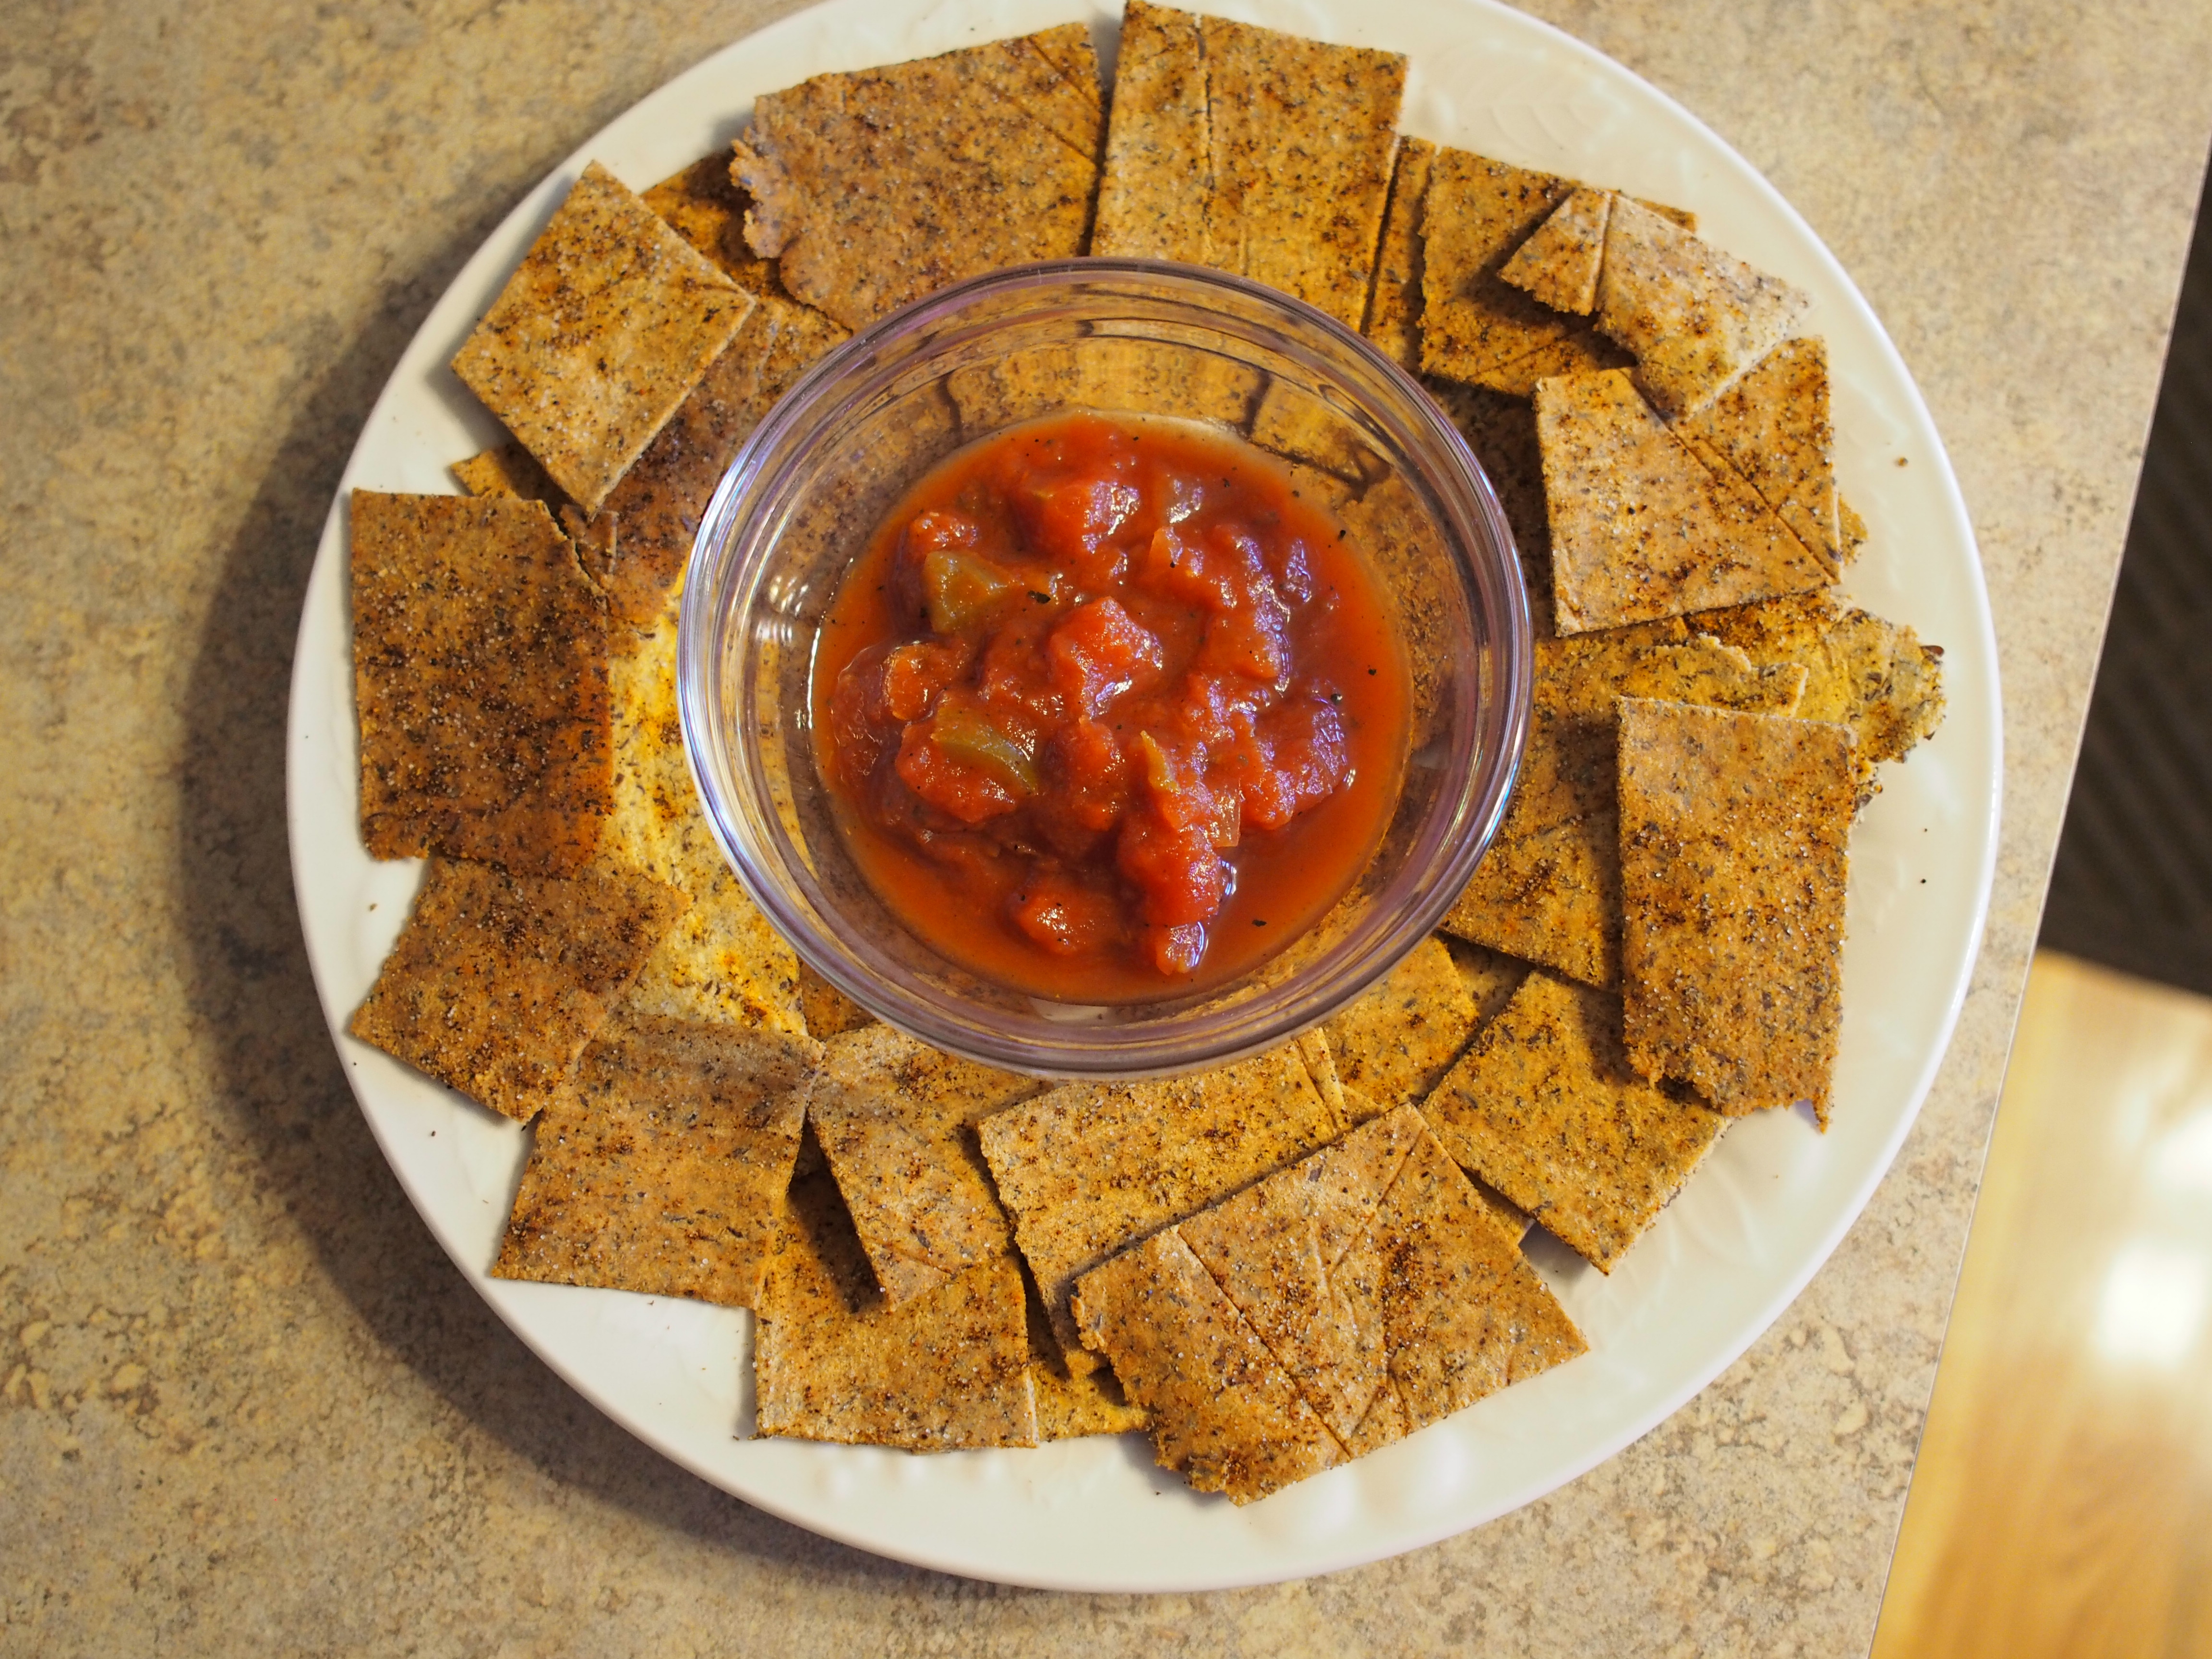
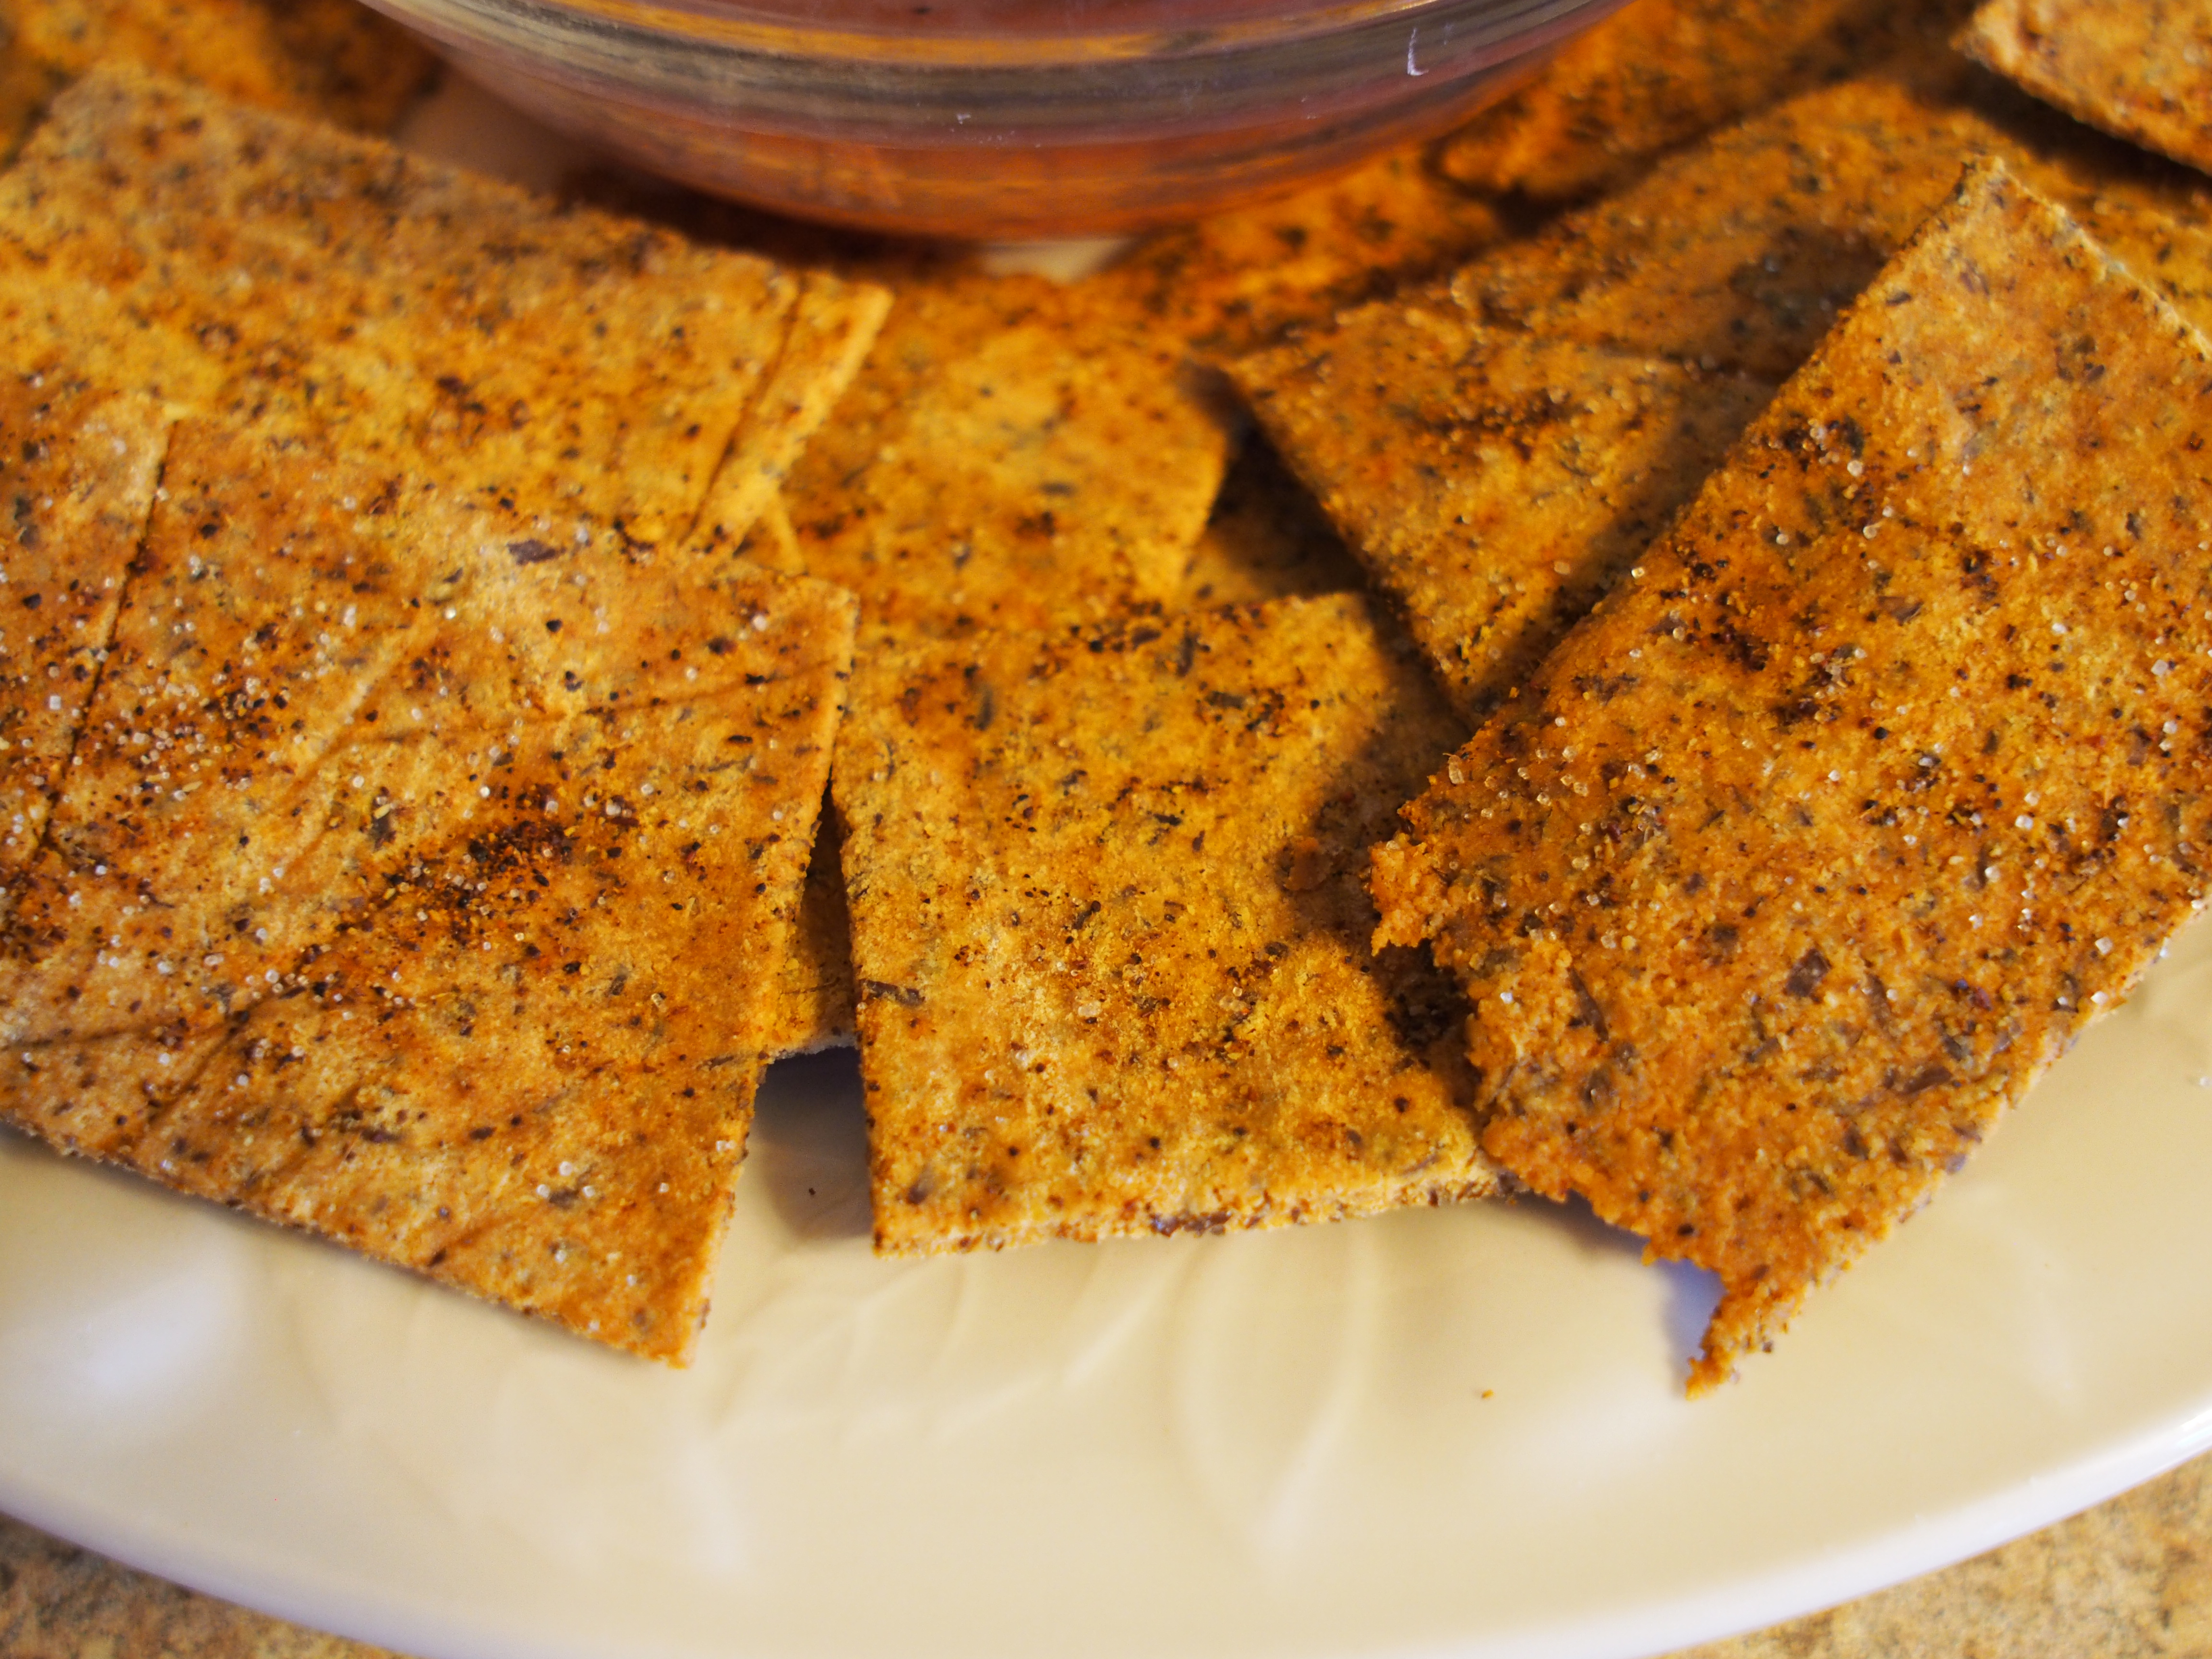
I checked it a 10 minutes as the author suggested as it can burn easily.  Mine did get a little brown on the bottom but I liked the crispness in contrast with the soft cream cheese filling.

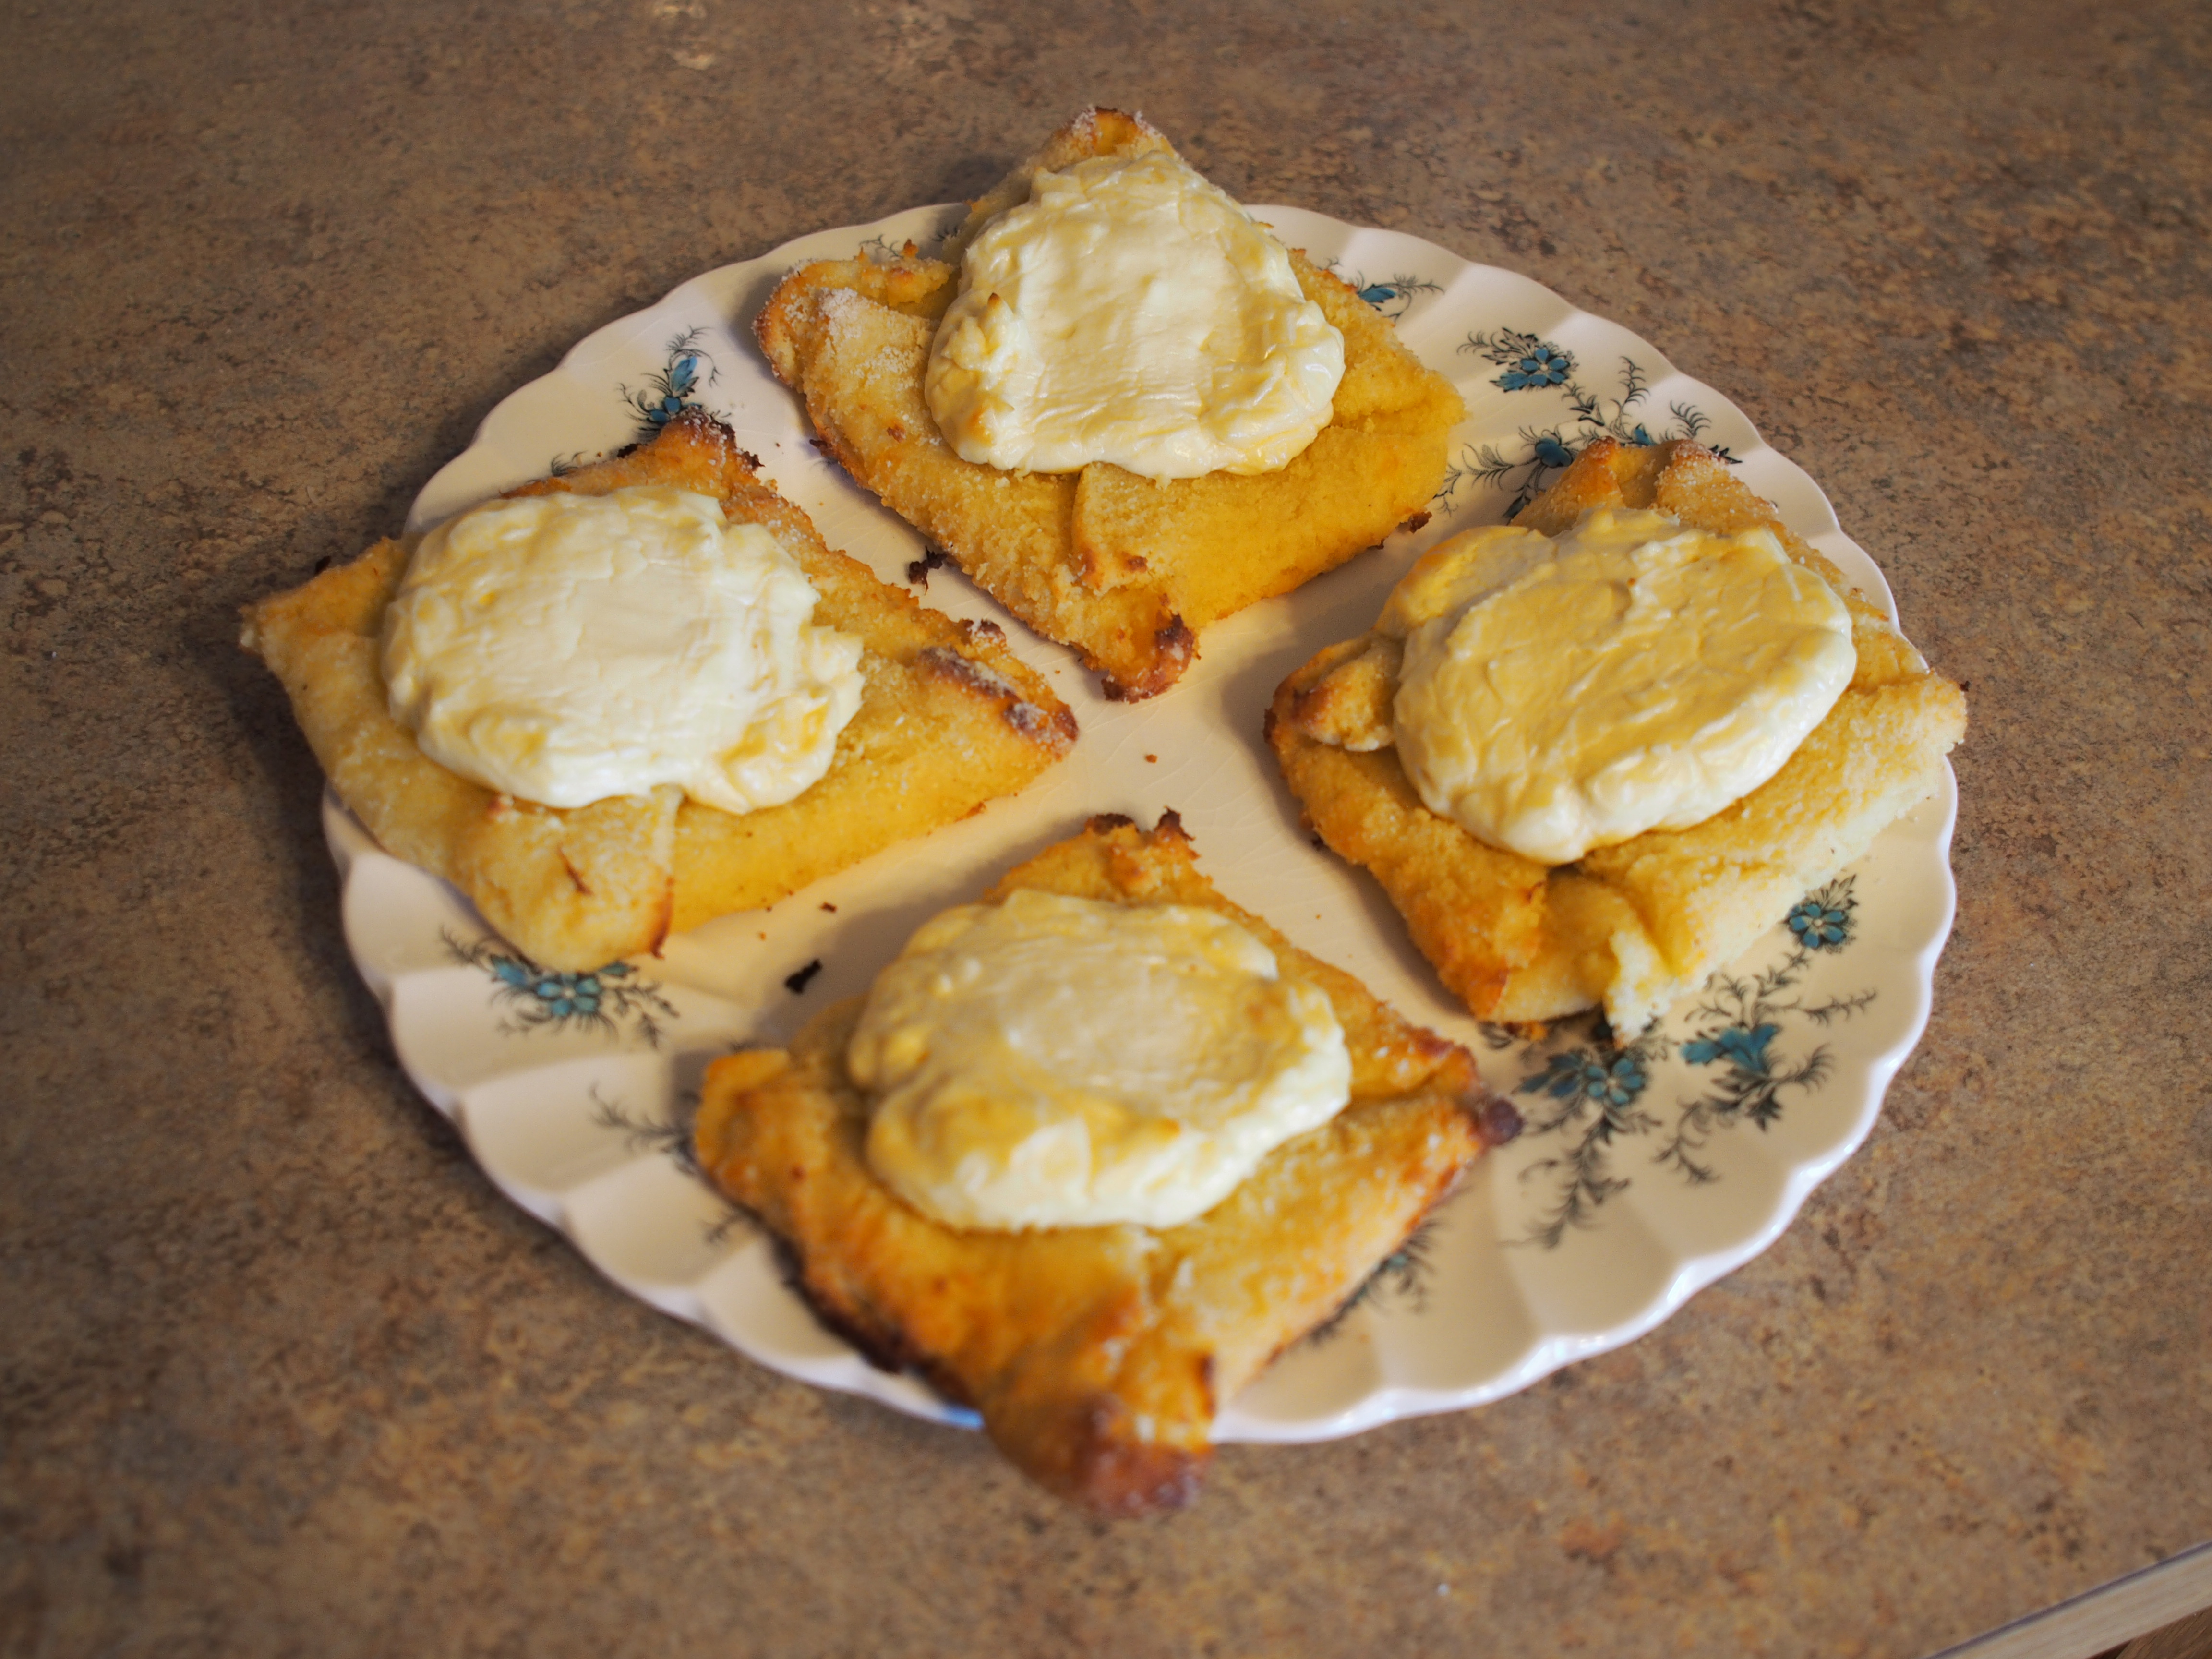
Here is the results before frosting.

Finished product before frosting.

Finished product before frosting.

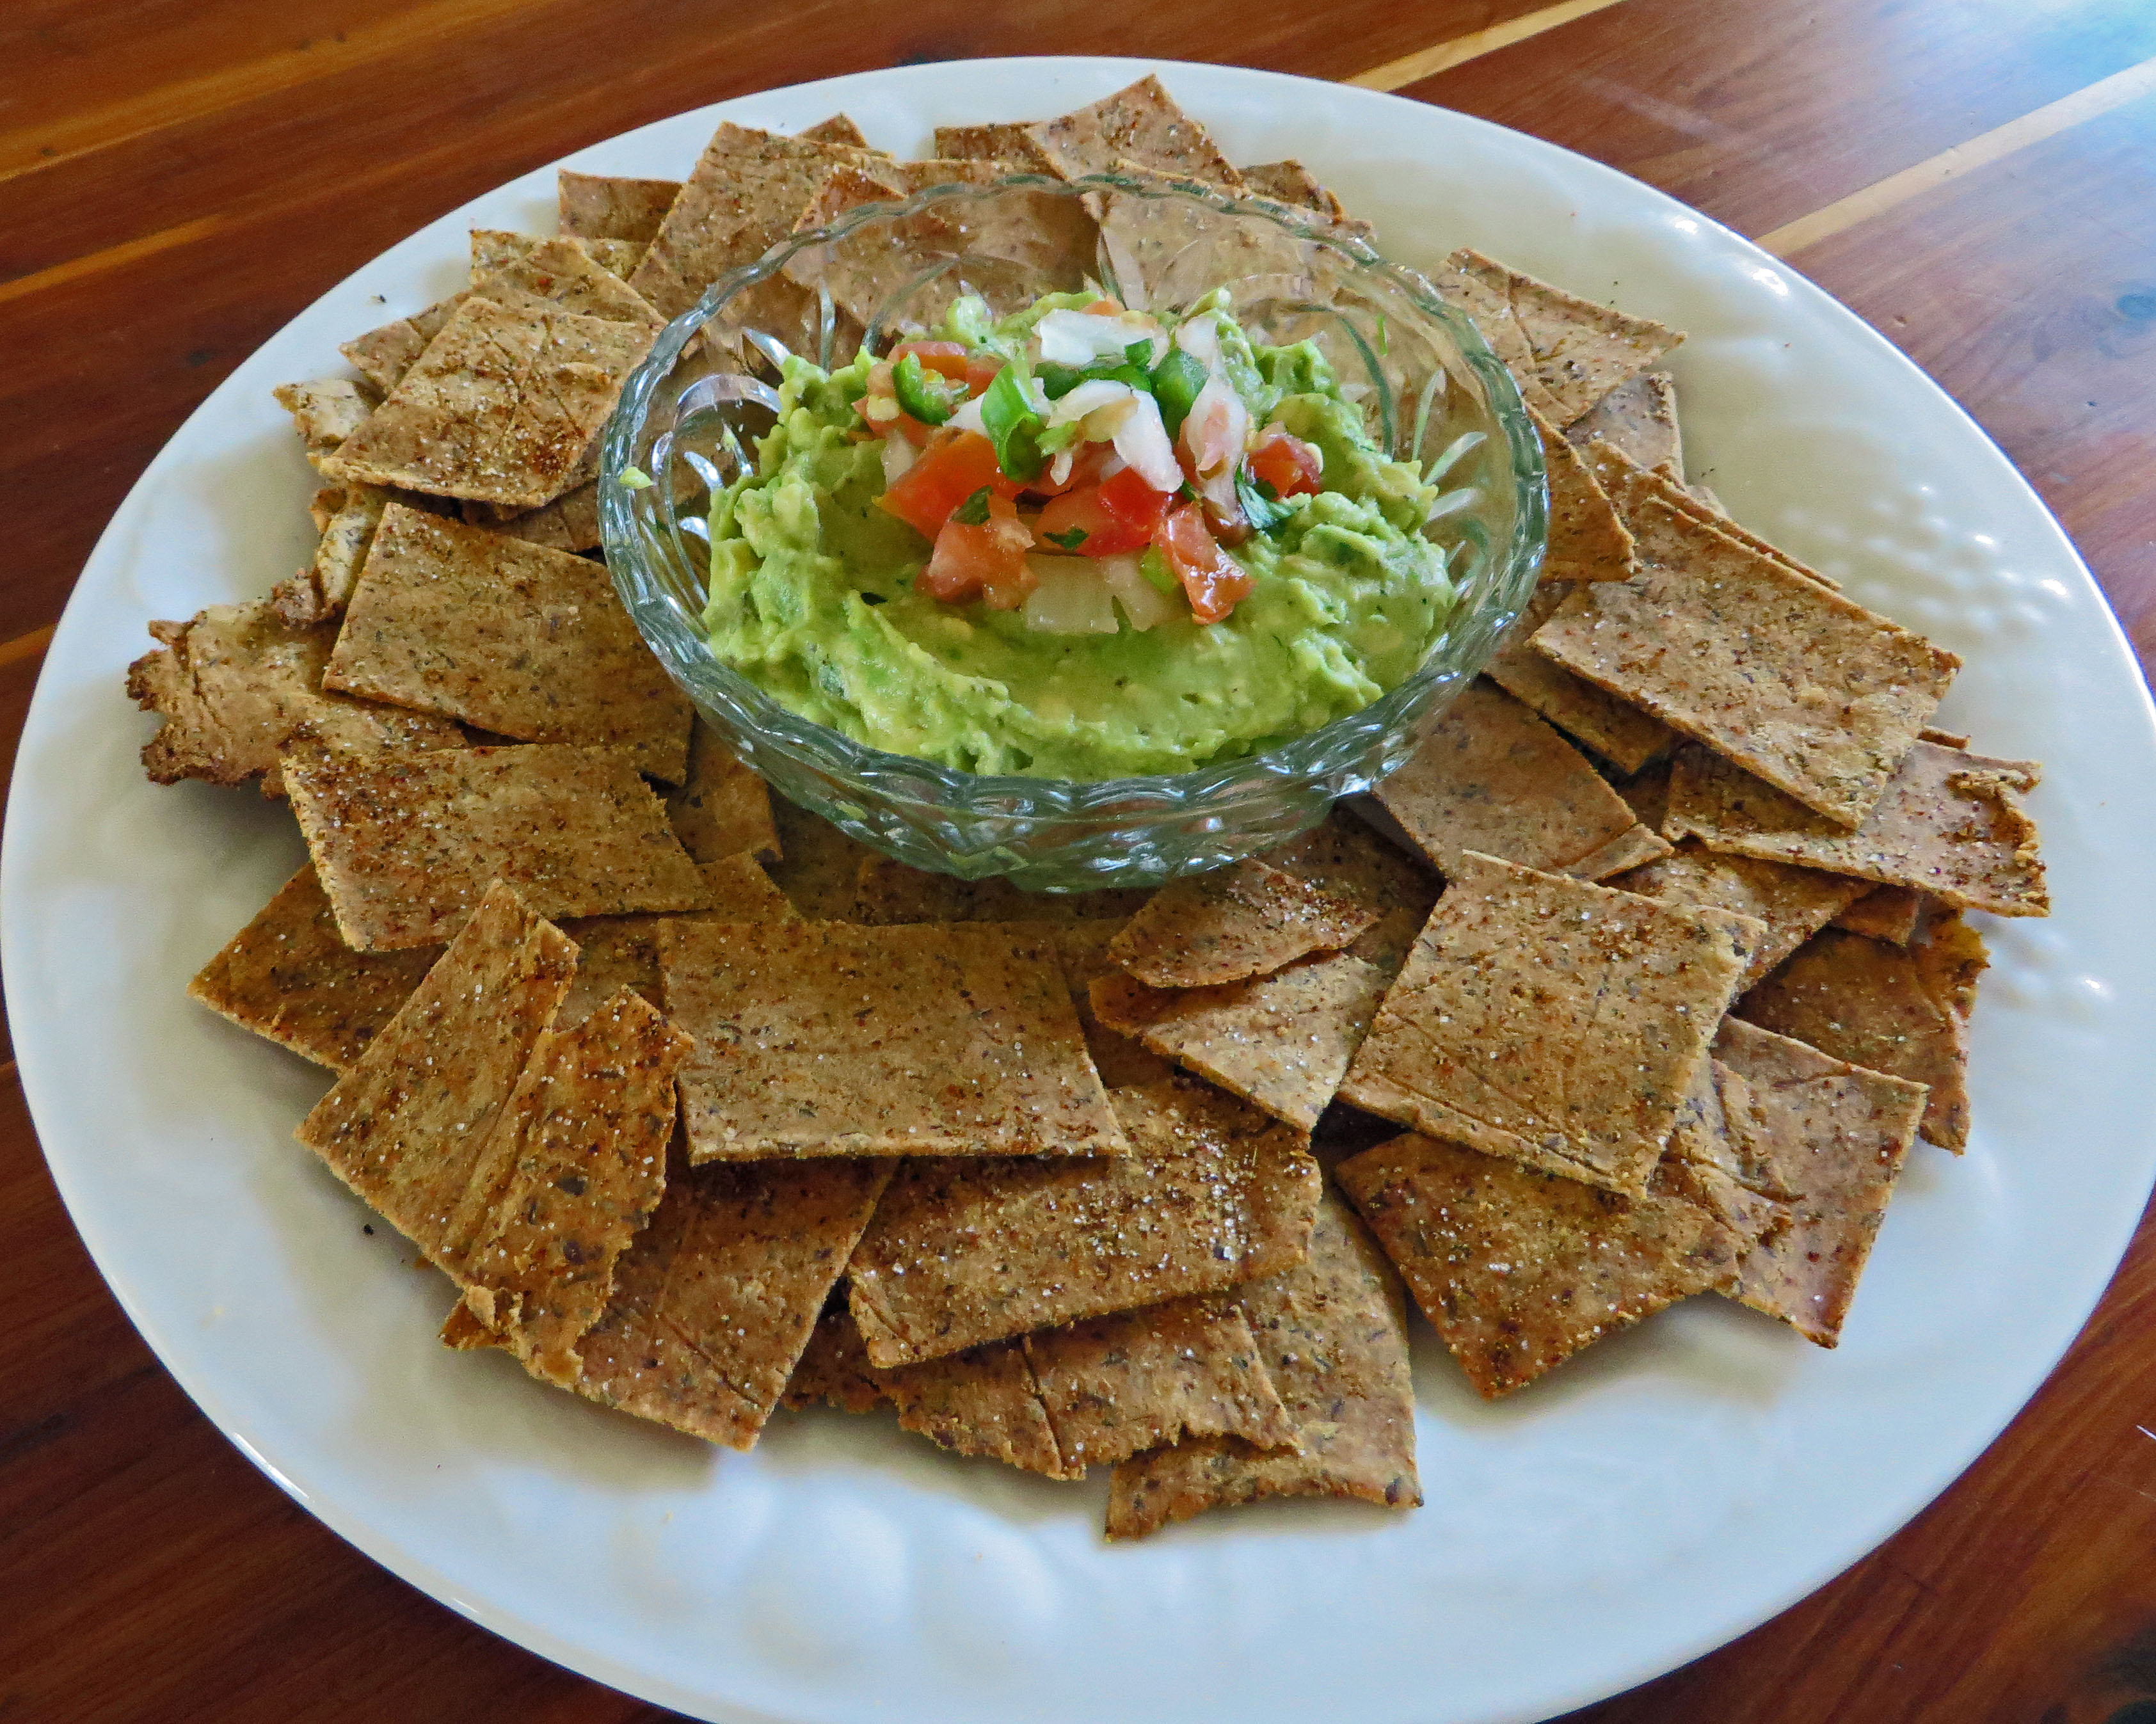
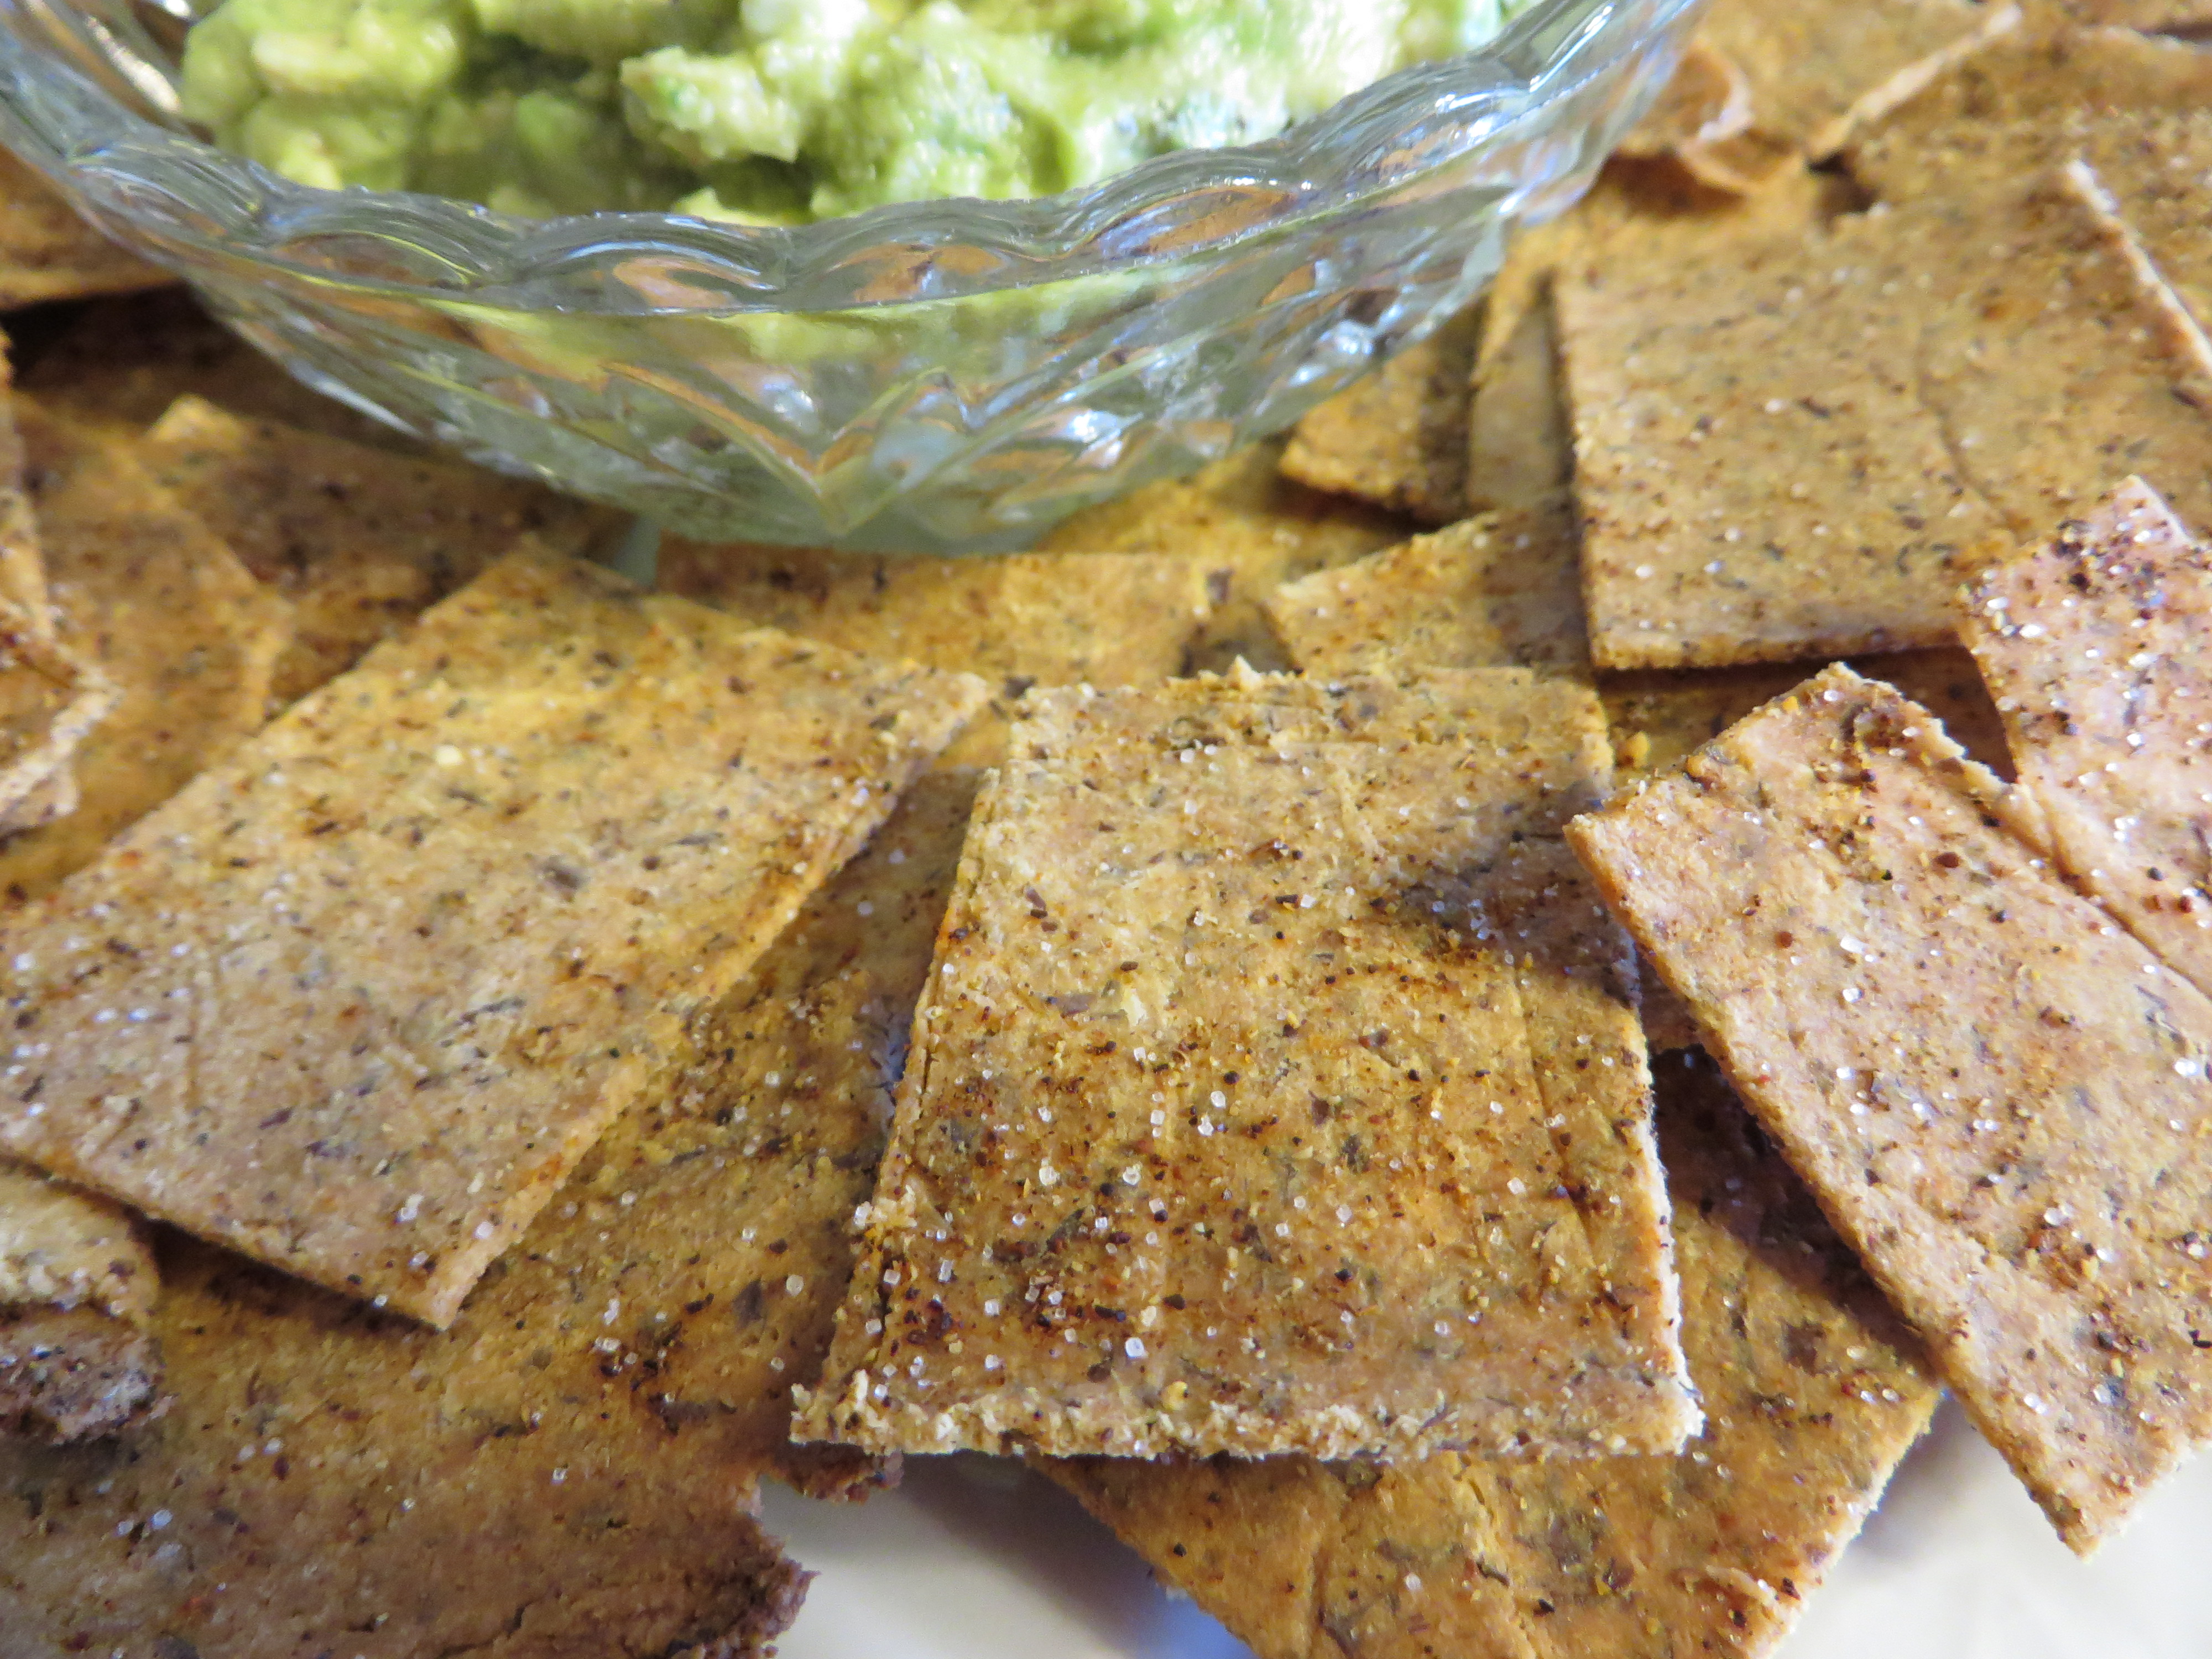
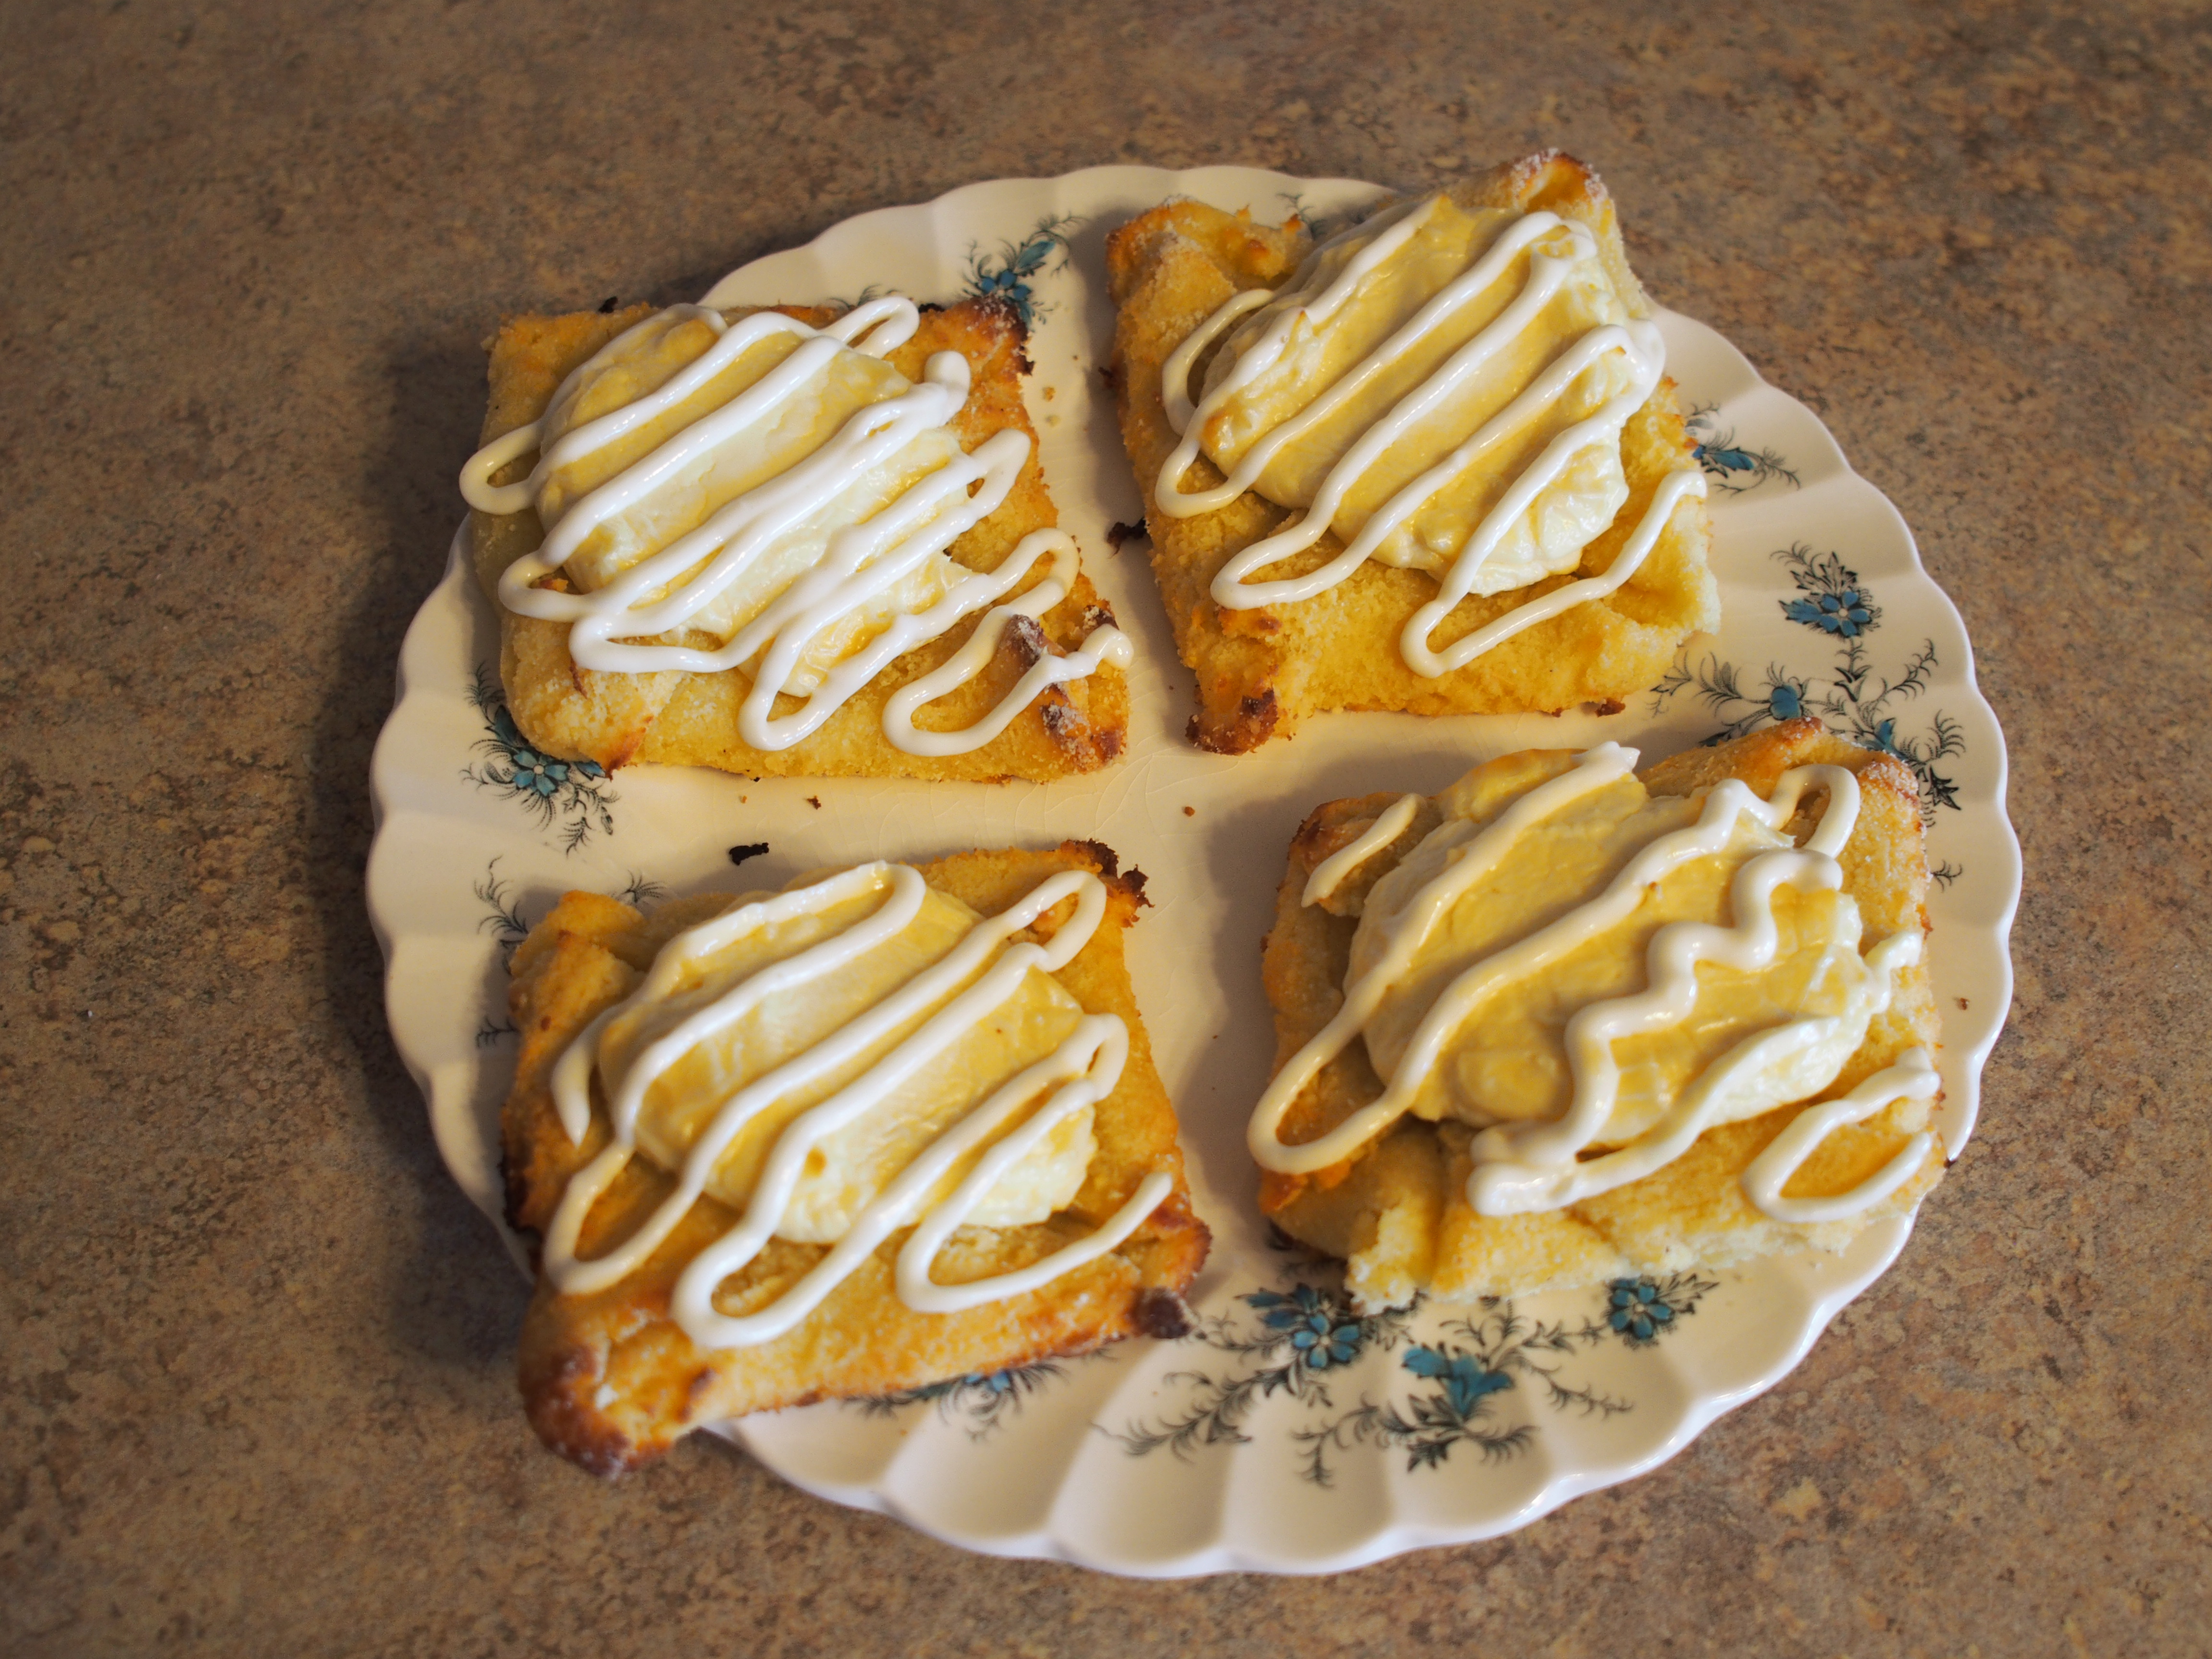
I made the frosting and piped it on the Danish pastries.  (I used a powdered Swerve sweetener for the frosting) I used my husband and son as my non low carb eating taste testers.   It passed the test and I had a request for more  in the future.  I will buy the exact ingredients and give it another go the next time we have a sweet tooth. 🙂

OLYMPUS DIGITAL CAMERA

Ta Da

Melyna

Albert Phineas Drache